

Printing checkins on your Brother printer (for Windows computers)
- Log in to your Kidmin App account via a web browser.
- Connect your Brother printer to your computer via USB and make sure it is powered ON (single green light over power button will be lit).
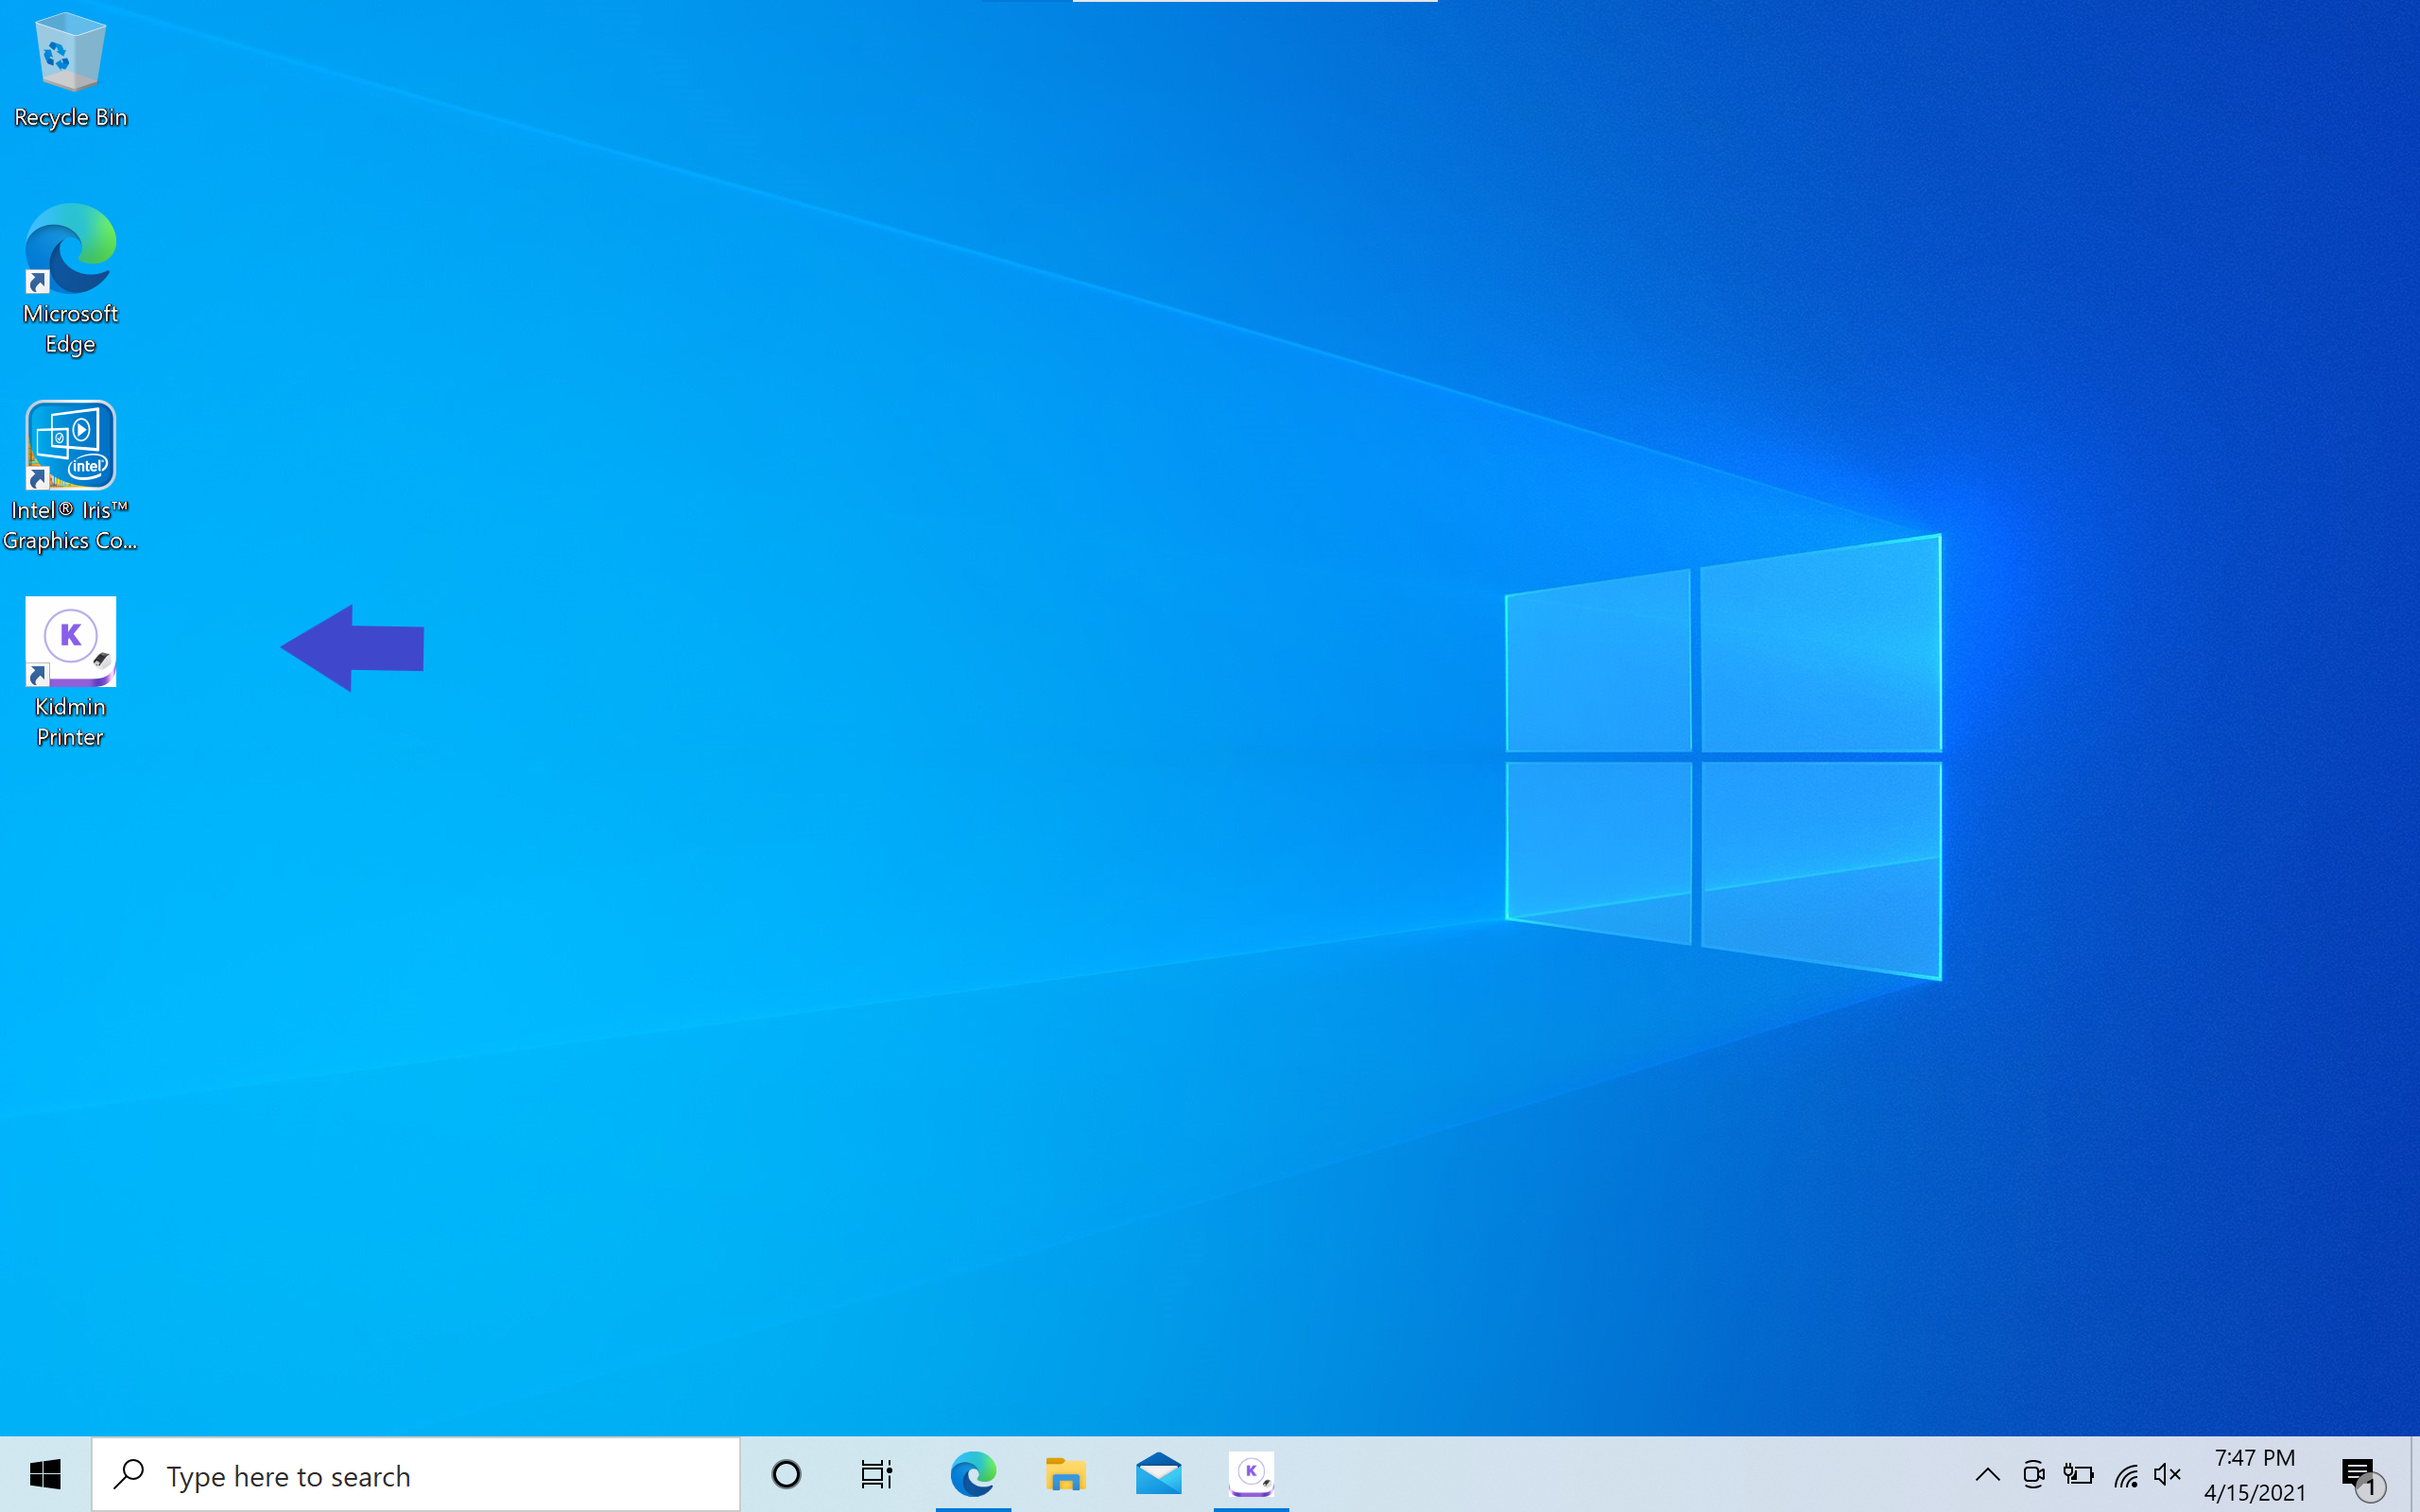
- Open the Kidmin Printer application by double clicking the icon on Desktop screen.
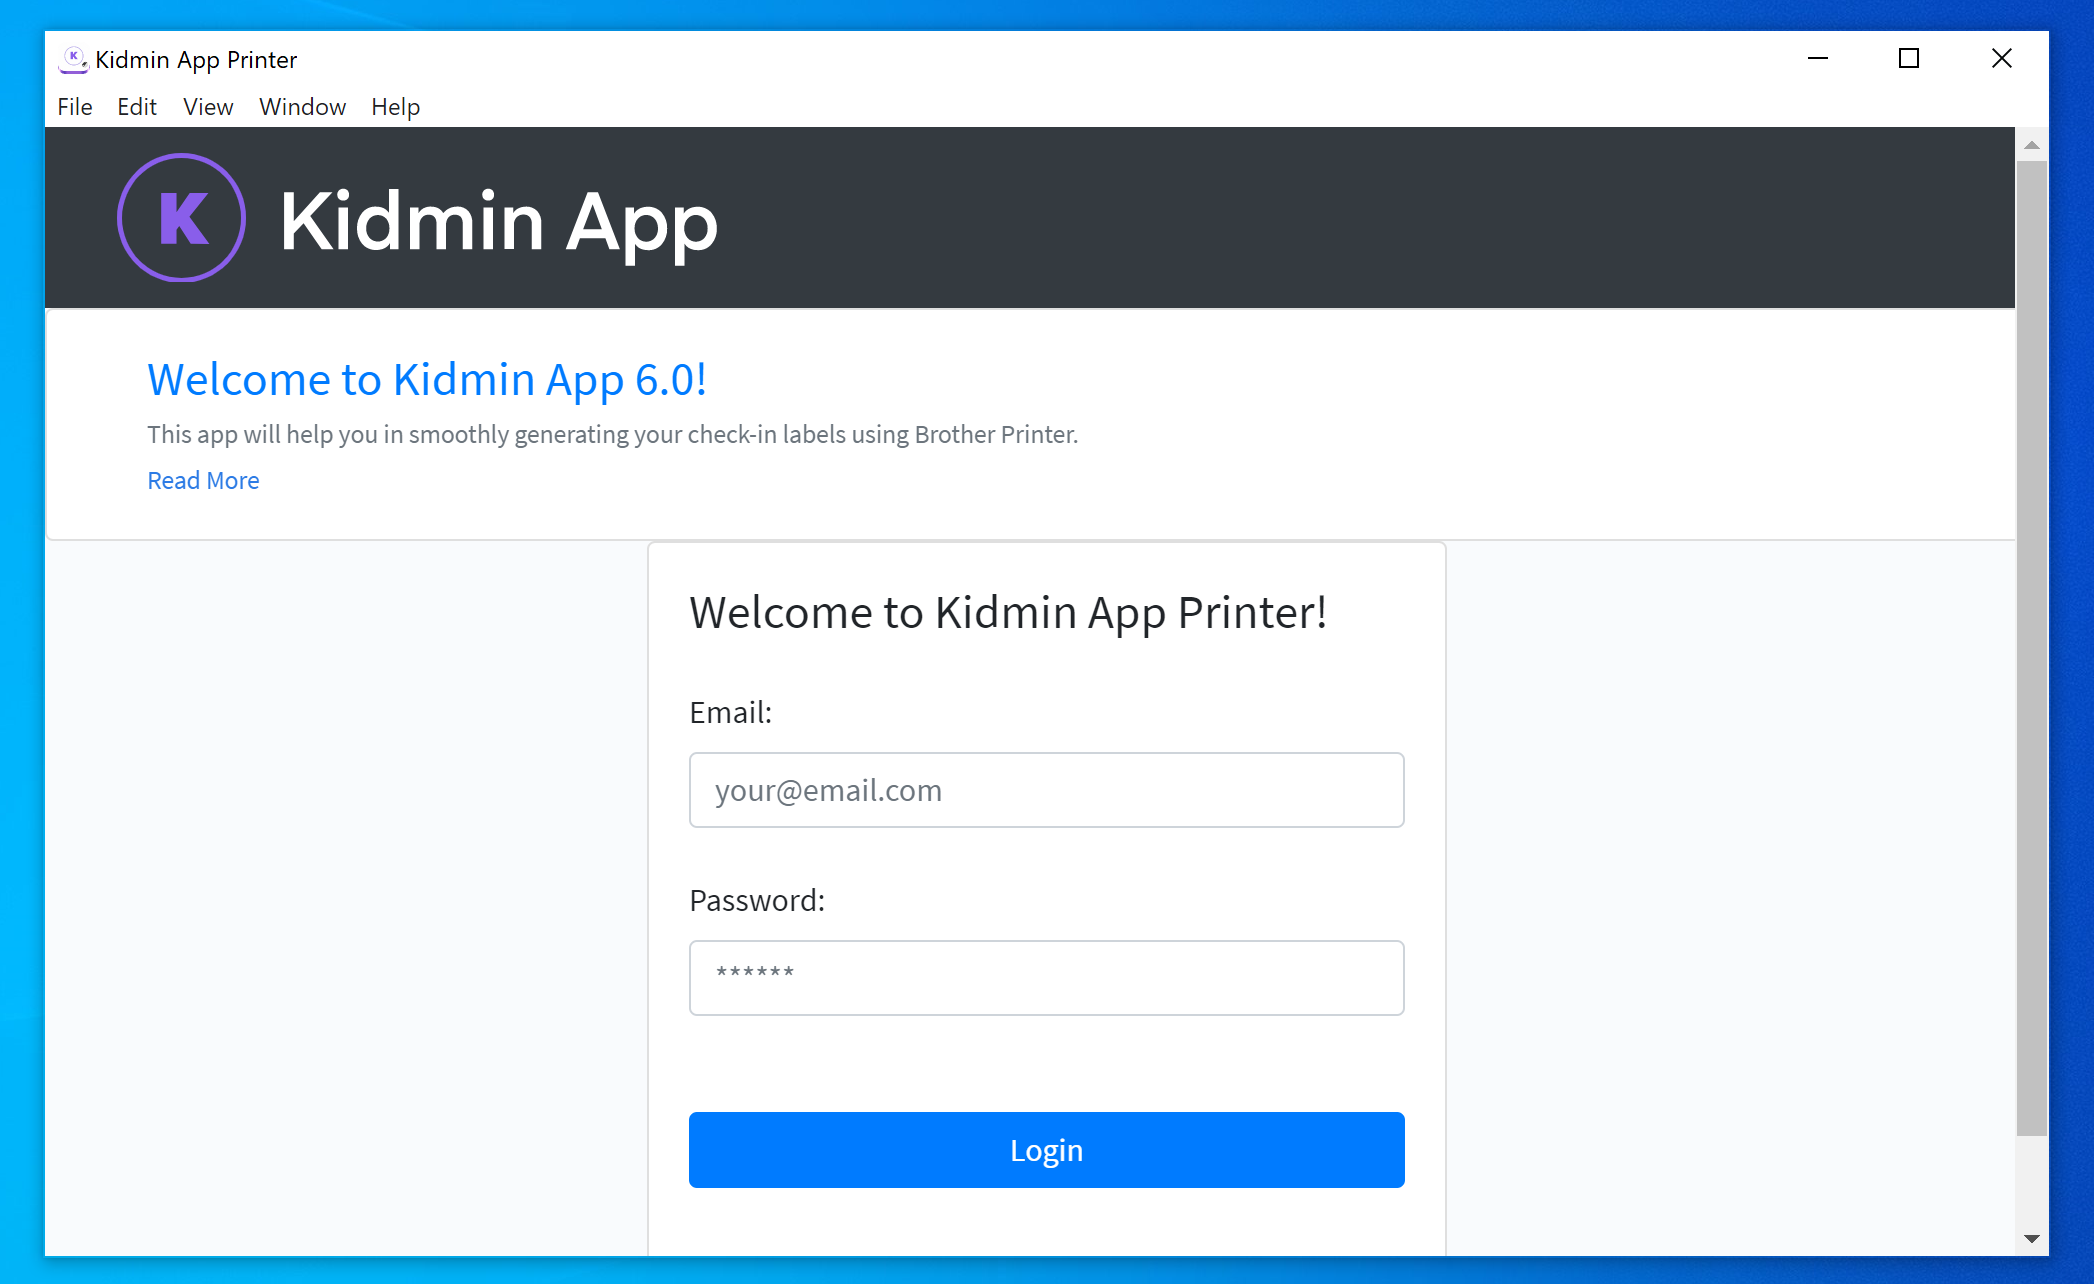
- Log in with your Kidmin App account credentials.
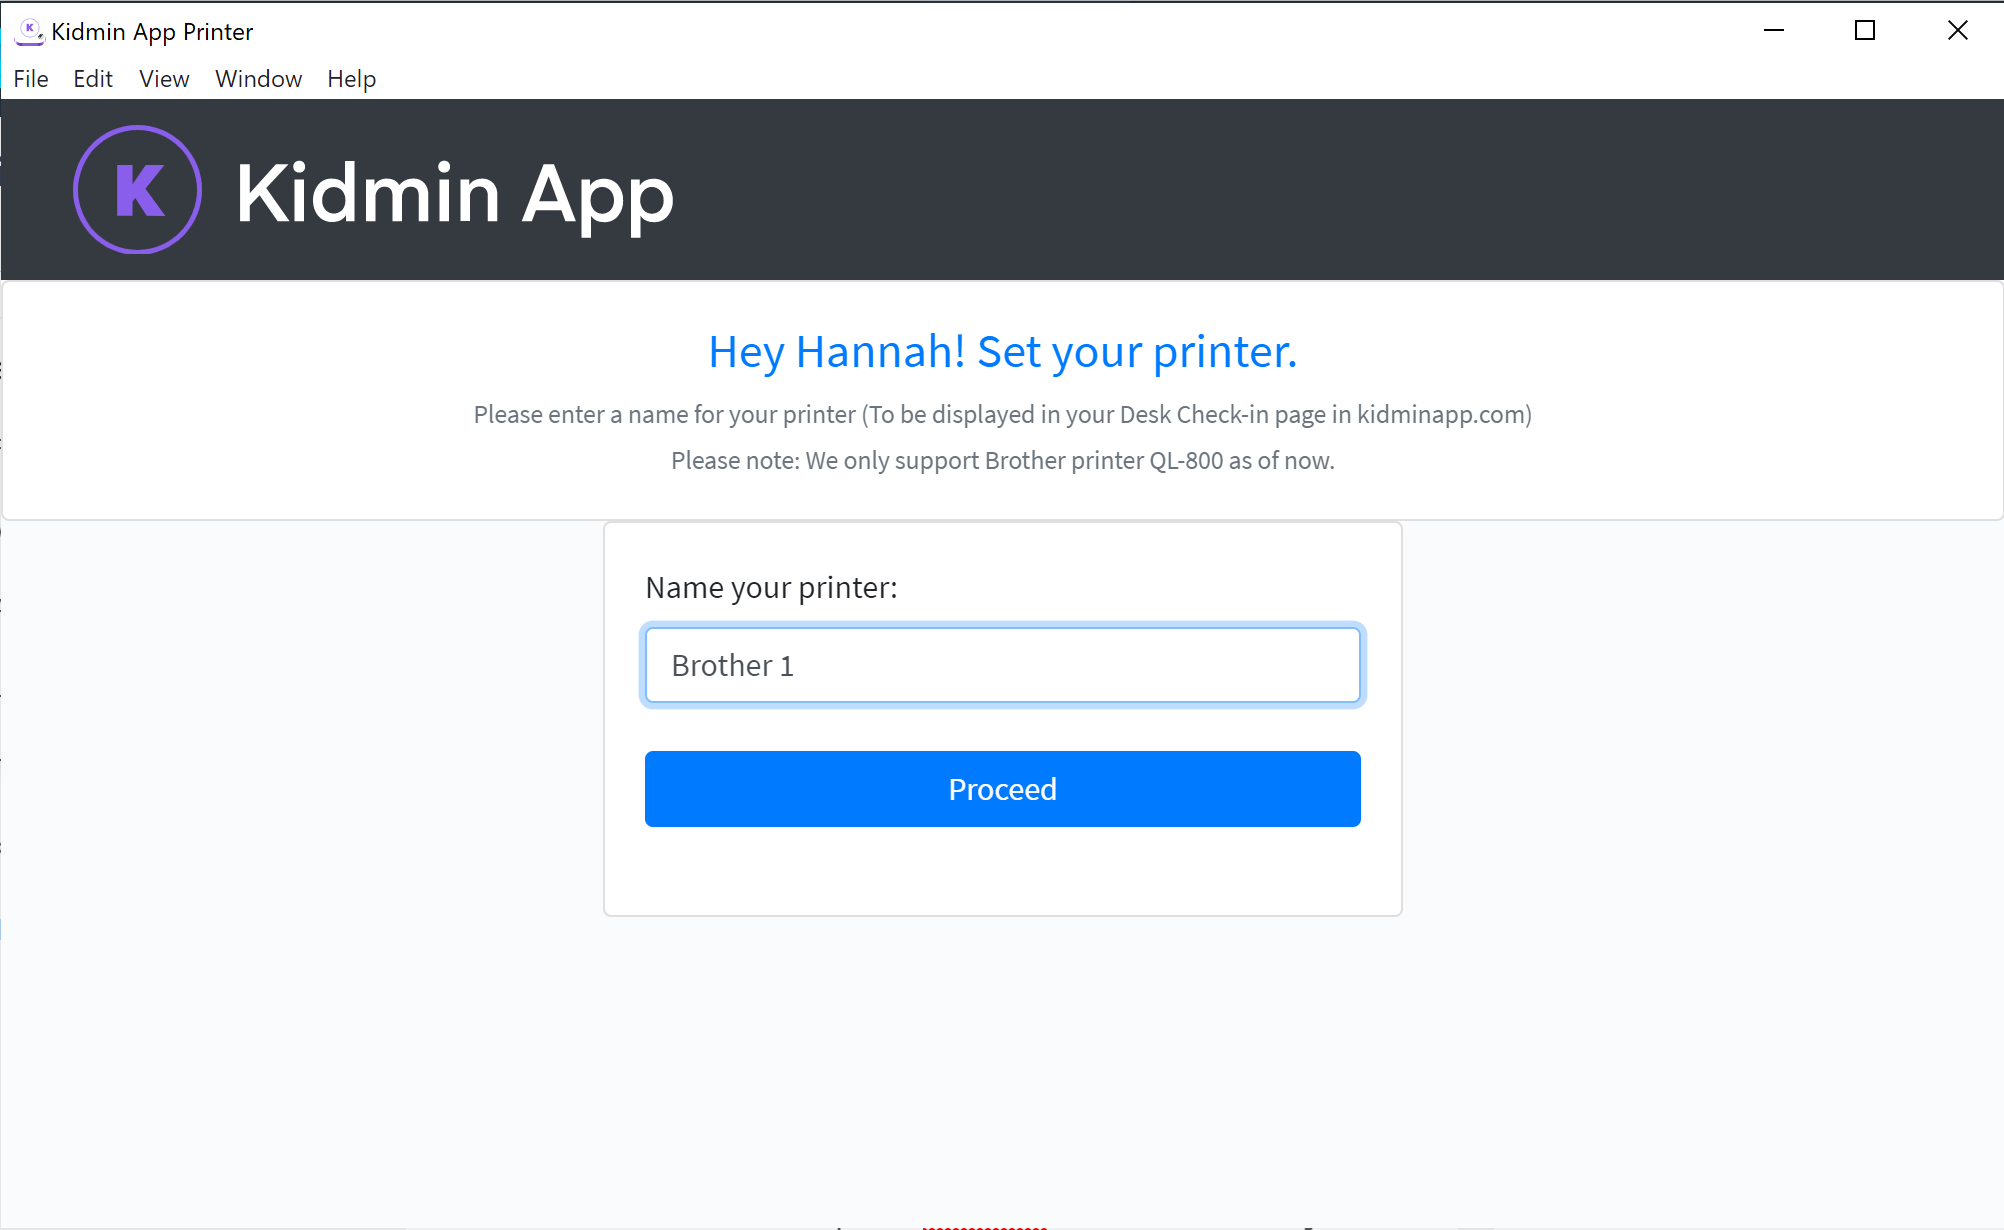
- On the next screen you will enter a name for the printer you're setting up (this is helpful when using printers in different locations or if you have one that you dedicate to express checkins, etc).
- In the printer app window, click “Print Sample.” A sample label will print signifying that your printer is connected and ready to print.
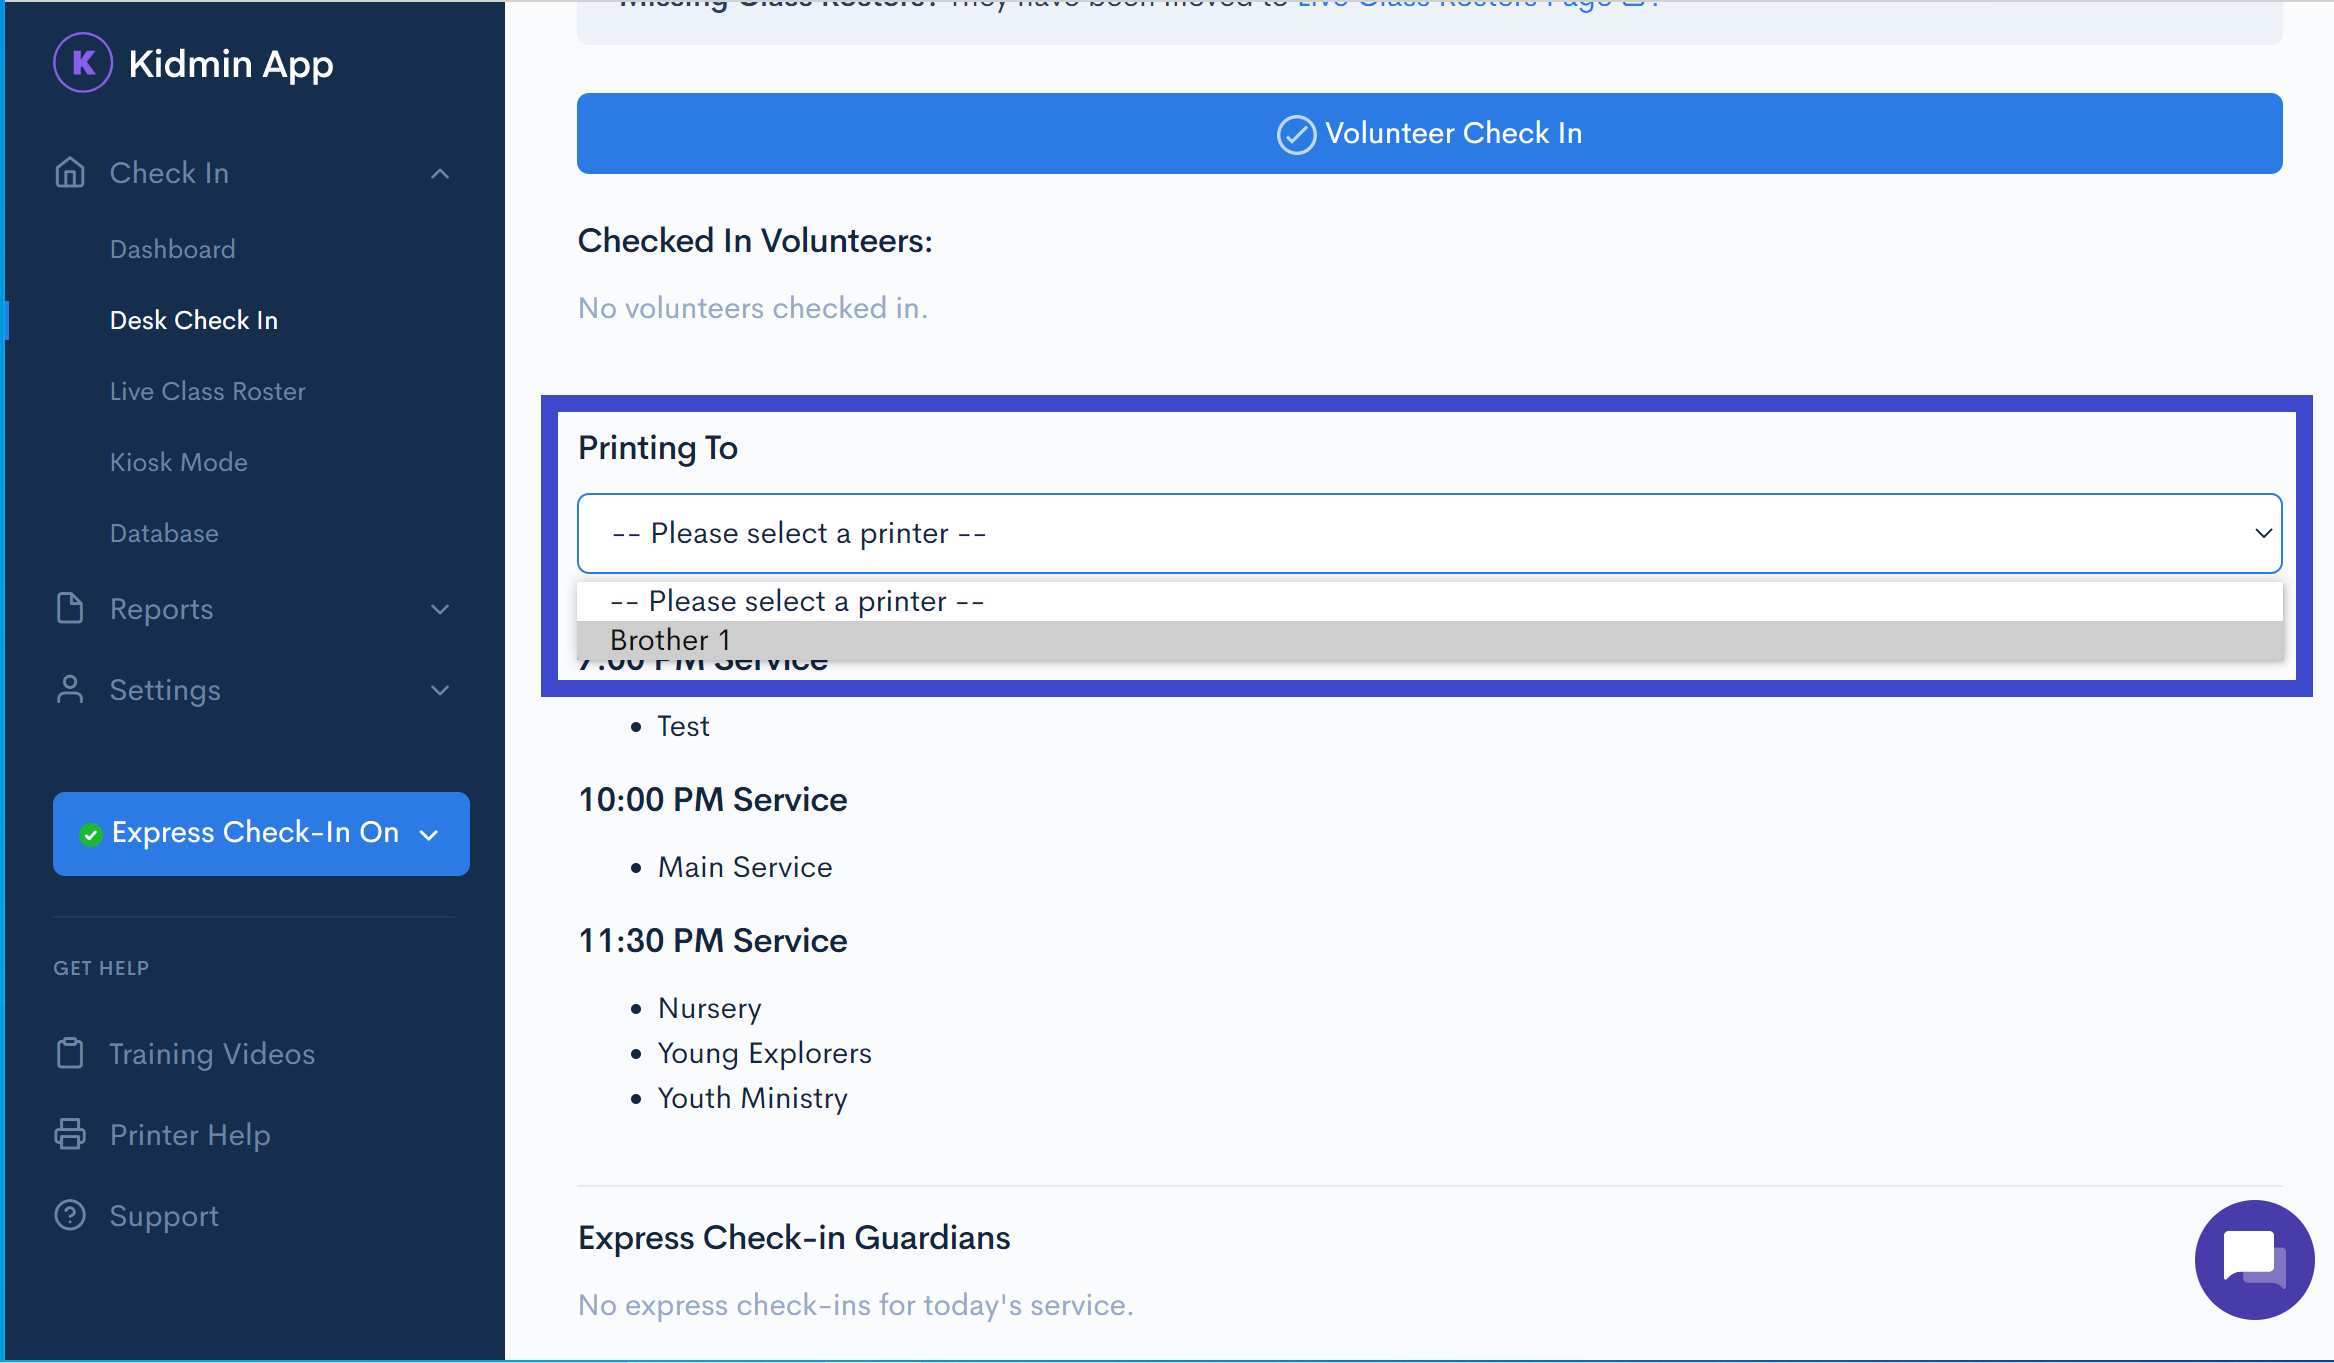
- From your desk check-in page, select the printer you just named from the "Printing To" dropdown menu. Note: If it doesn't appear, you may need to refresh the page.
- To print a test checkin (highly recommended), make sure you have an available service and class available for that day. Check yourself in as a volunteer (this prevents child attendance from becoming inaccurate). A volunteer checkin tag will print.
- You're all set for checkins to print!
If you run into any problems or have a question, please contact us at help@kidminapp.com. We will be happy to assist!