

(Not using Windows? Check out our install instructions for MacOS HERE.)
This article covers the following:
- Part 1: Preparing Your Computer & Printer
- Part 2: Installing the Kidmin Printer App
- Part 3: Connecting the Printer to Your Kidmin App Account
The Kidmin App supports QL-series Brother printers, specifically the Brother QL-800 and other QL-prefixed models (use with 1.14 x 3.5in labels).
Part 1: Prepare Your Computer & Printer
- Download & install the corresponding drivers for your Brother printer - https://support.brother.com/g/b/countrytop.aspx?c=us&lang=en
- Uninstall any previous versions of the Kidmin Printer App prior to 2.0.0 (prior versions utilize a white icon), if applicable
- Confirm Windows registers the Brother as a printer. Visit Settings > Bluetooth & Devices > Printers and the printer should be listed as a printer.
- If the printer is not displayed under the list of printers, but is visible under Settings > Bluetooth & Devices > Devices, follow the instructions in this article.
Part 2: Installing the Kidmin Printer app
- Log in to your Kidmin App account via web browser. On the church settings page, make sure your printer vendor is set to "Brother."
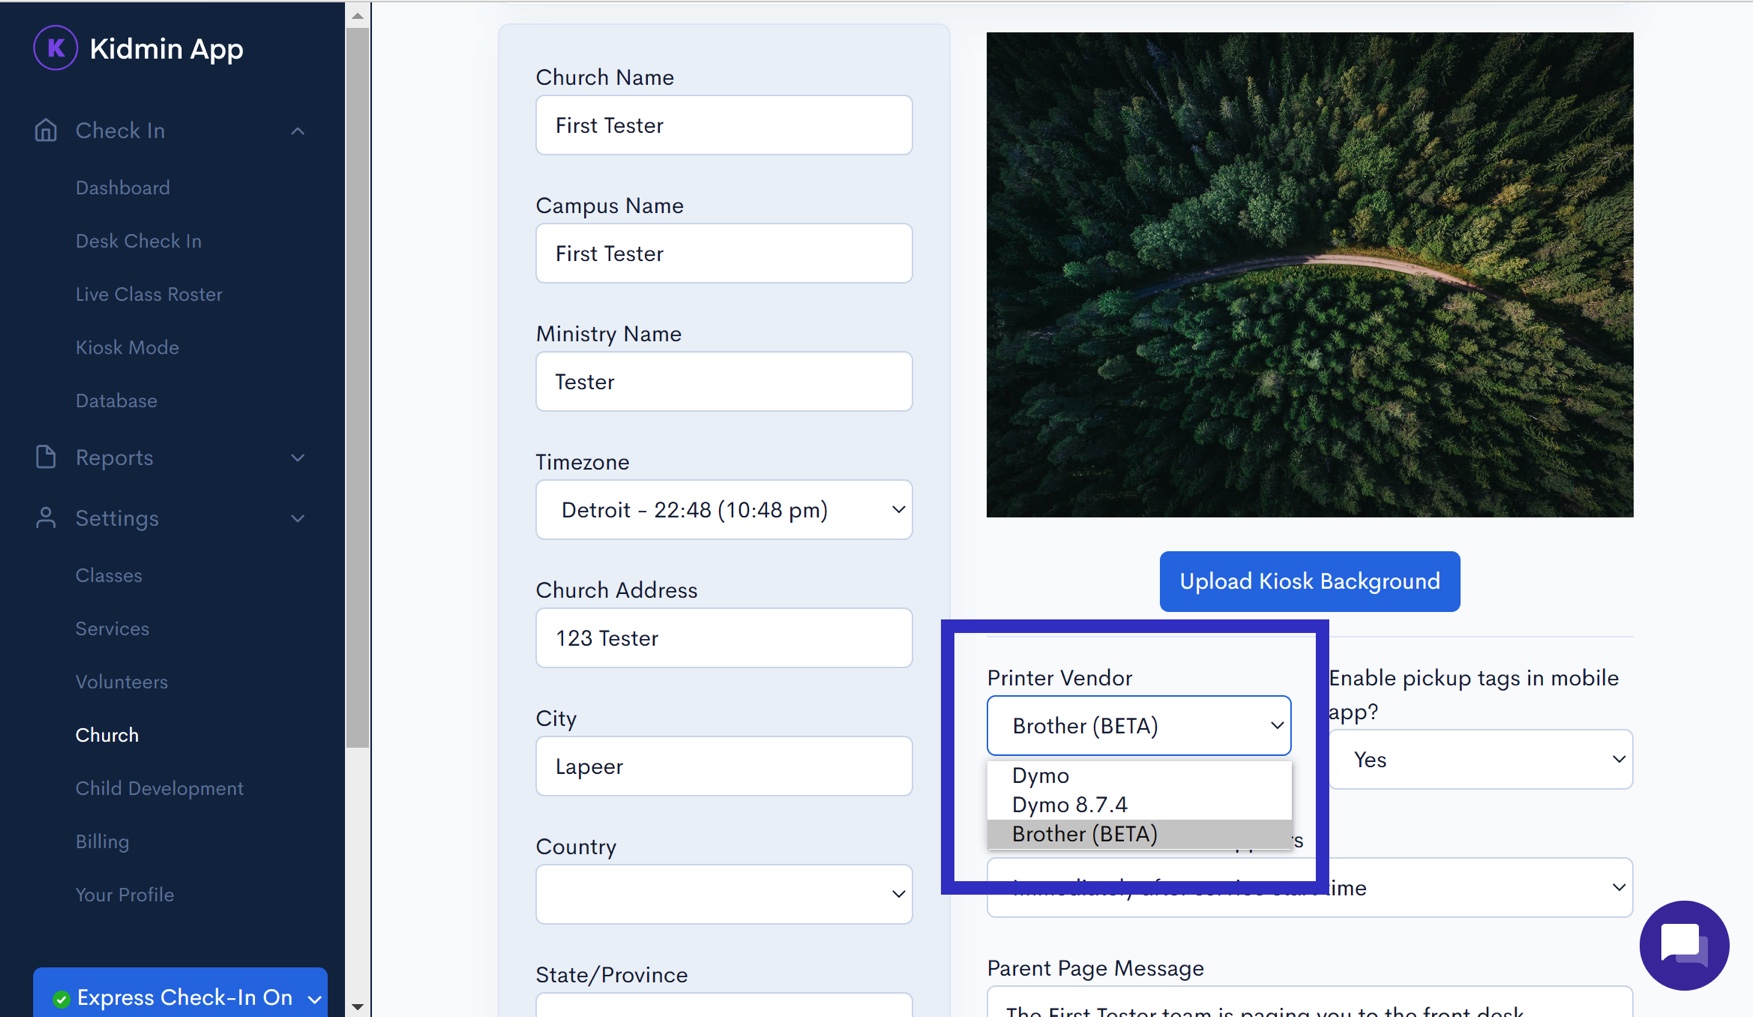
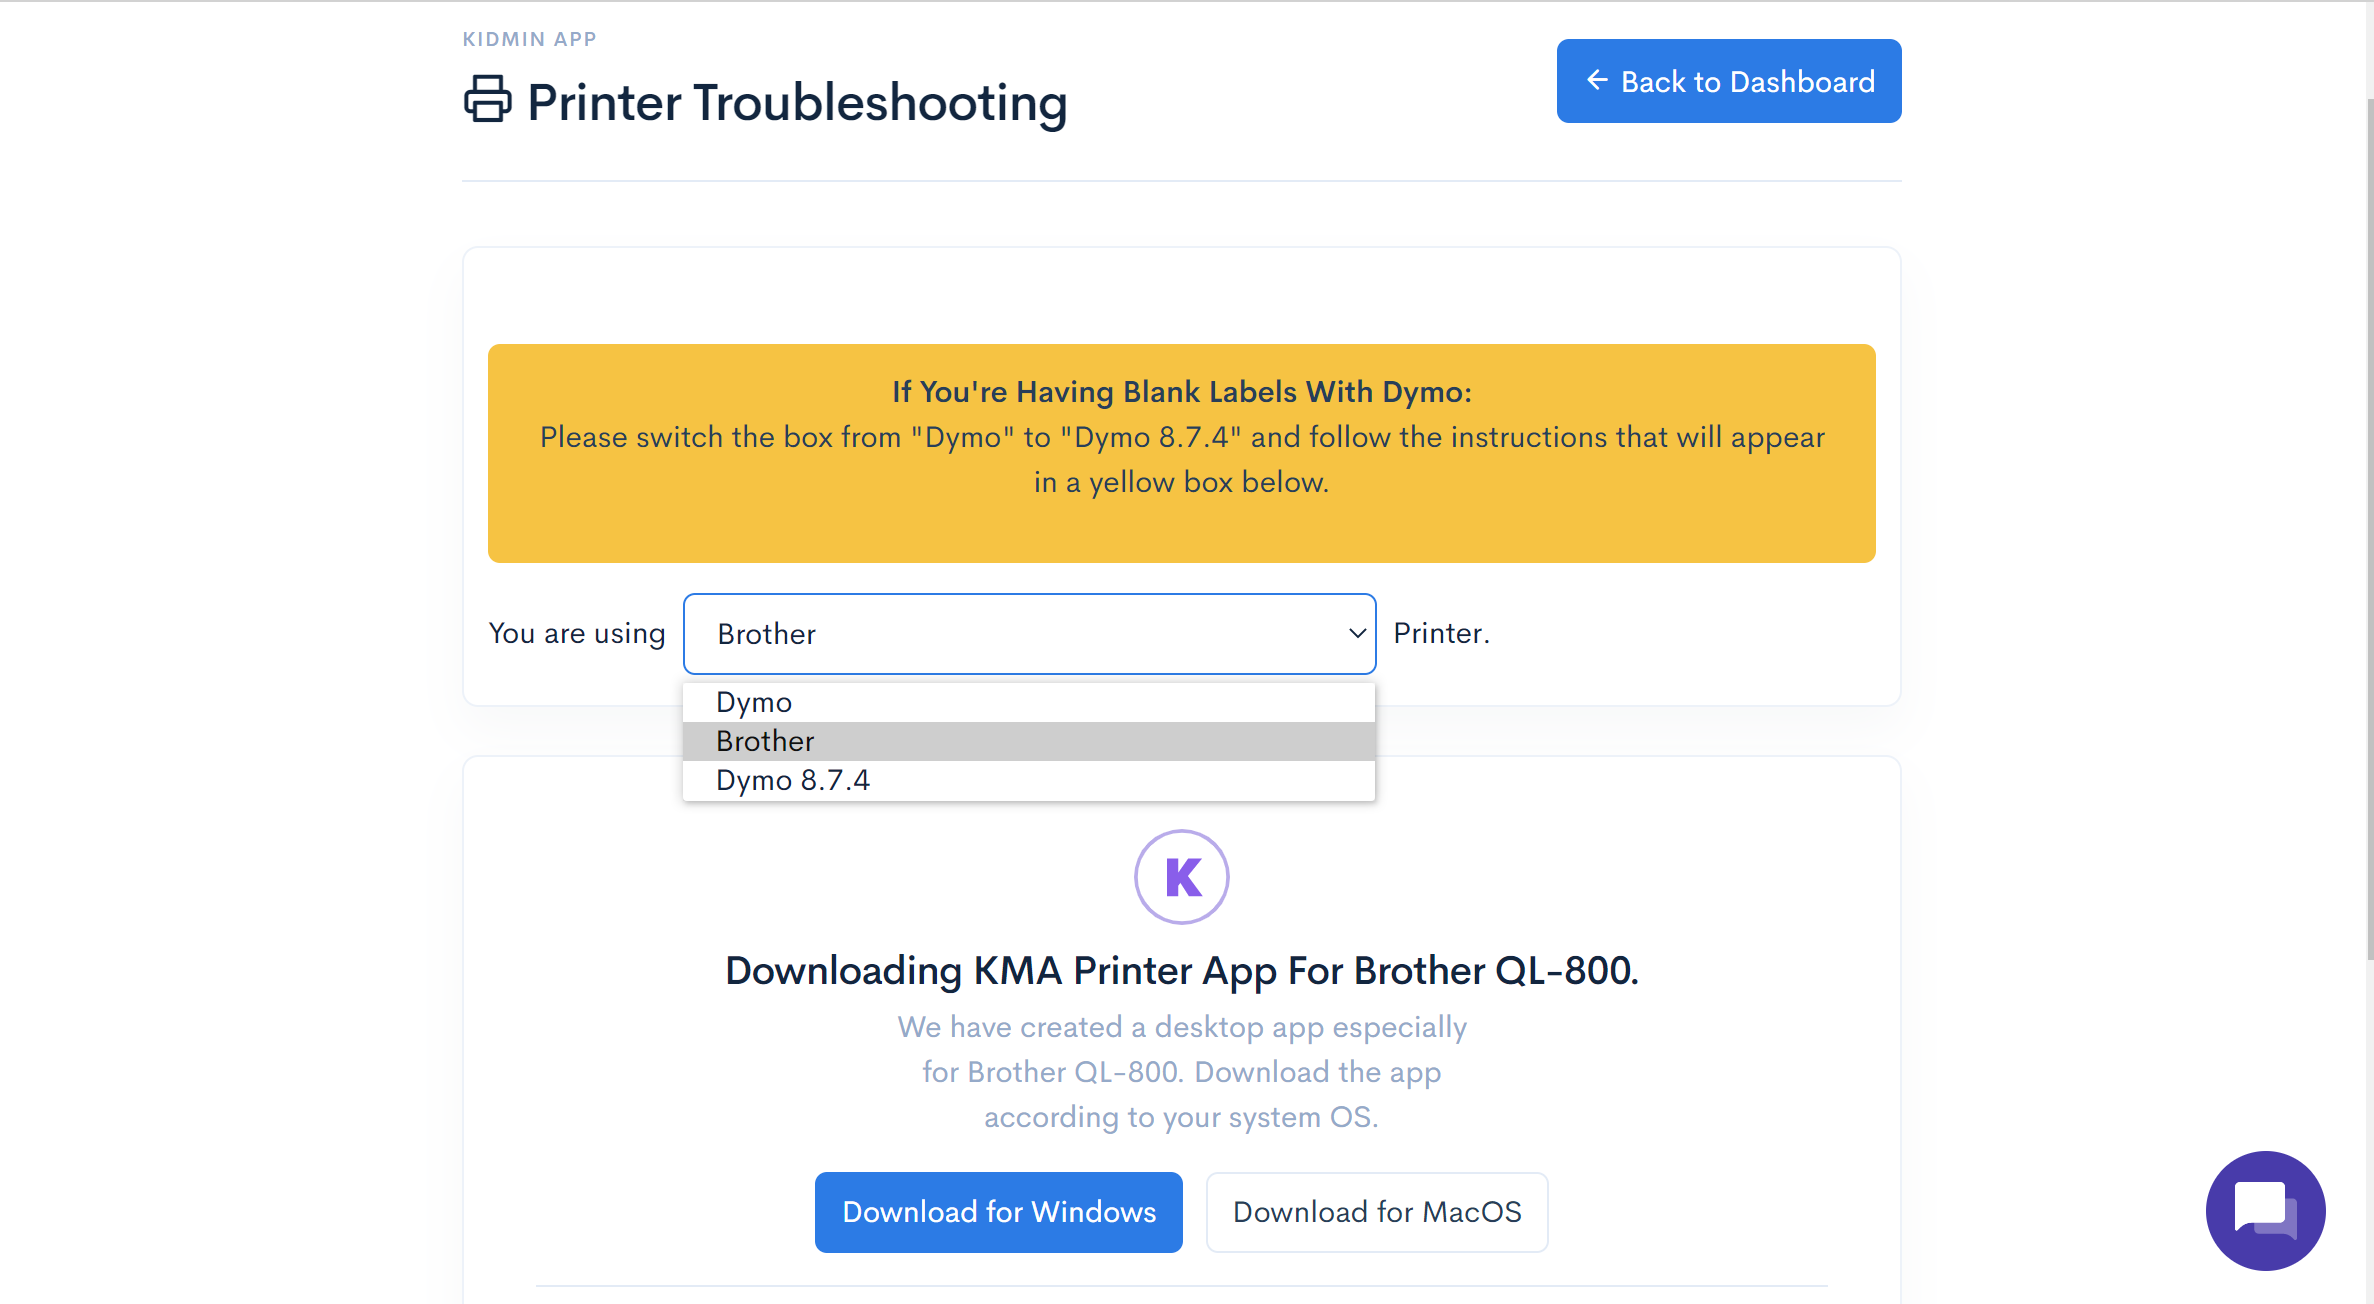
- Go to our printer help page. Select that you are using a “Brother” printer from the dropdown and click on the download for your Operating System (or click HERE). Download will start automatically.
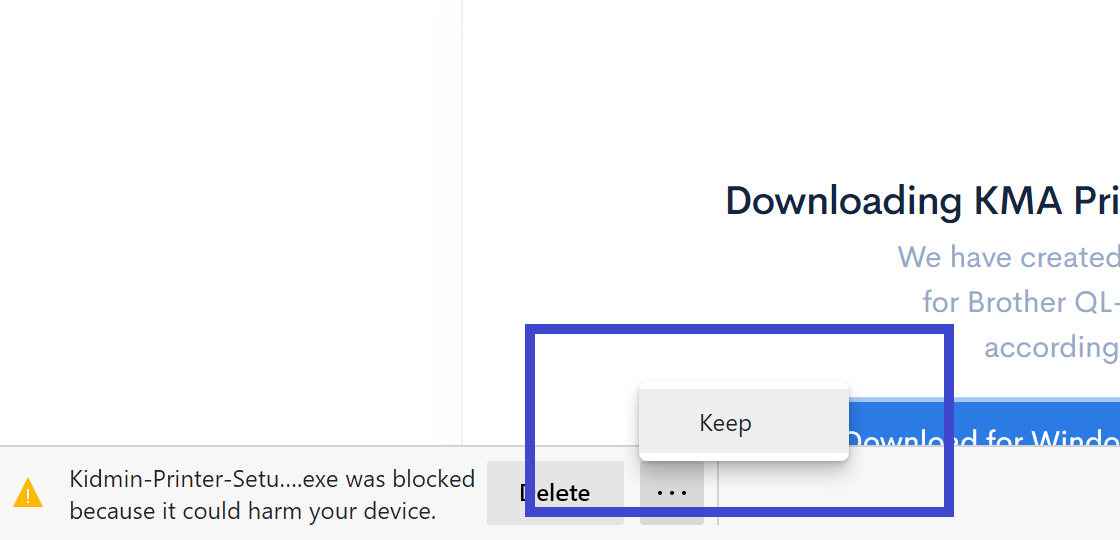
- Select "Keep" from the menu option (three dots) by the download file once file has finished downloading.
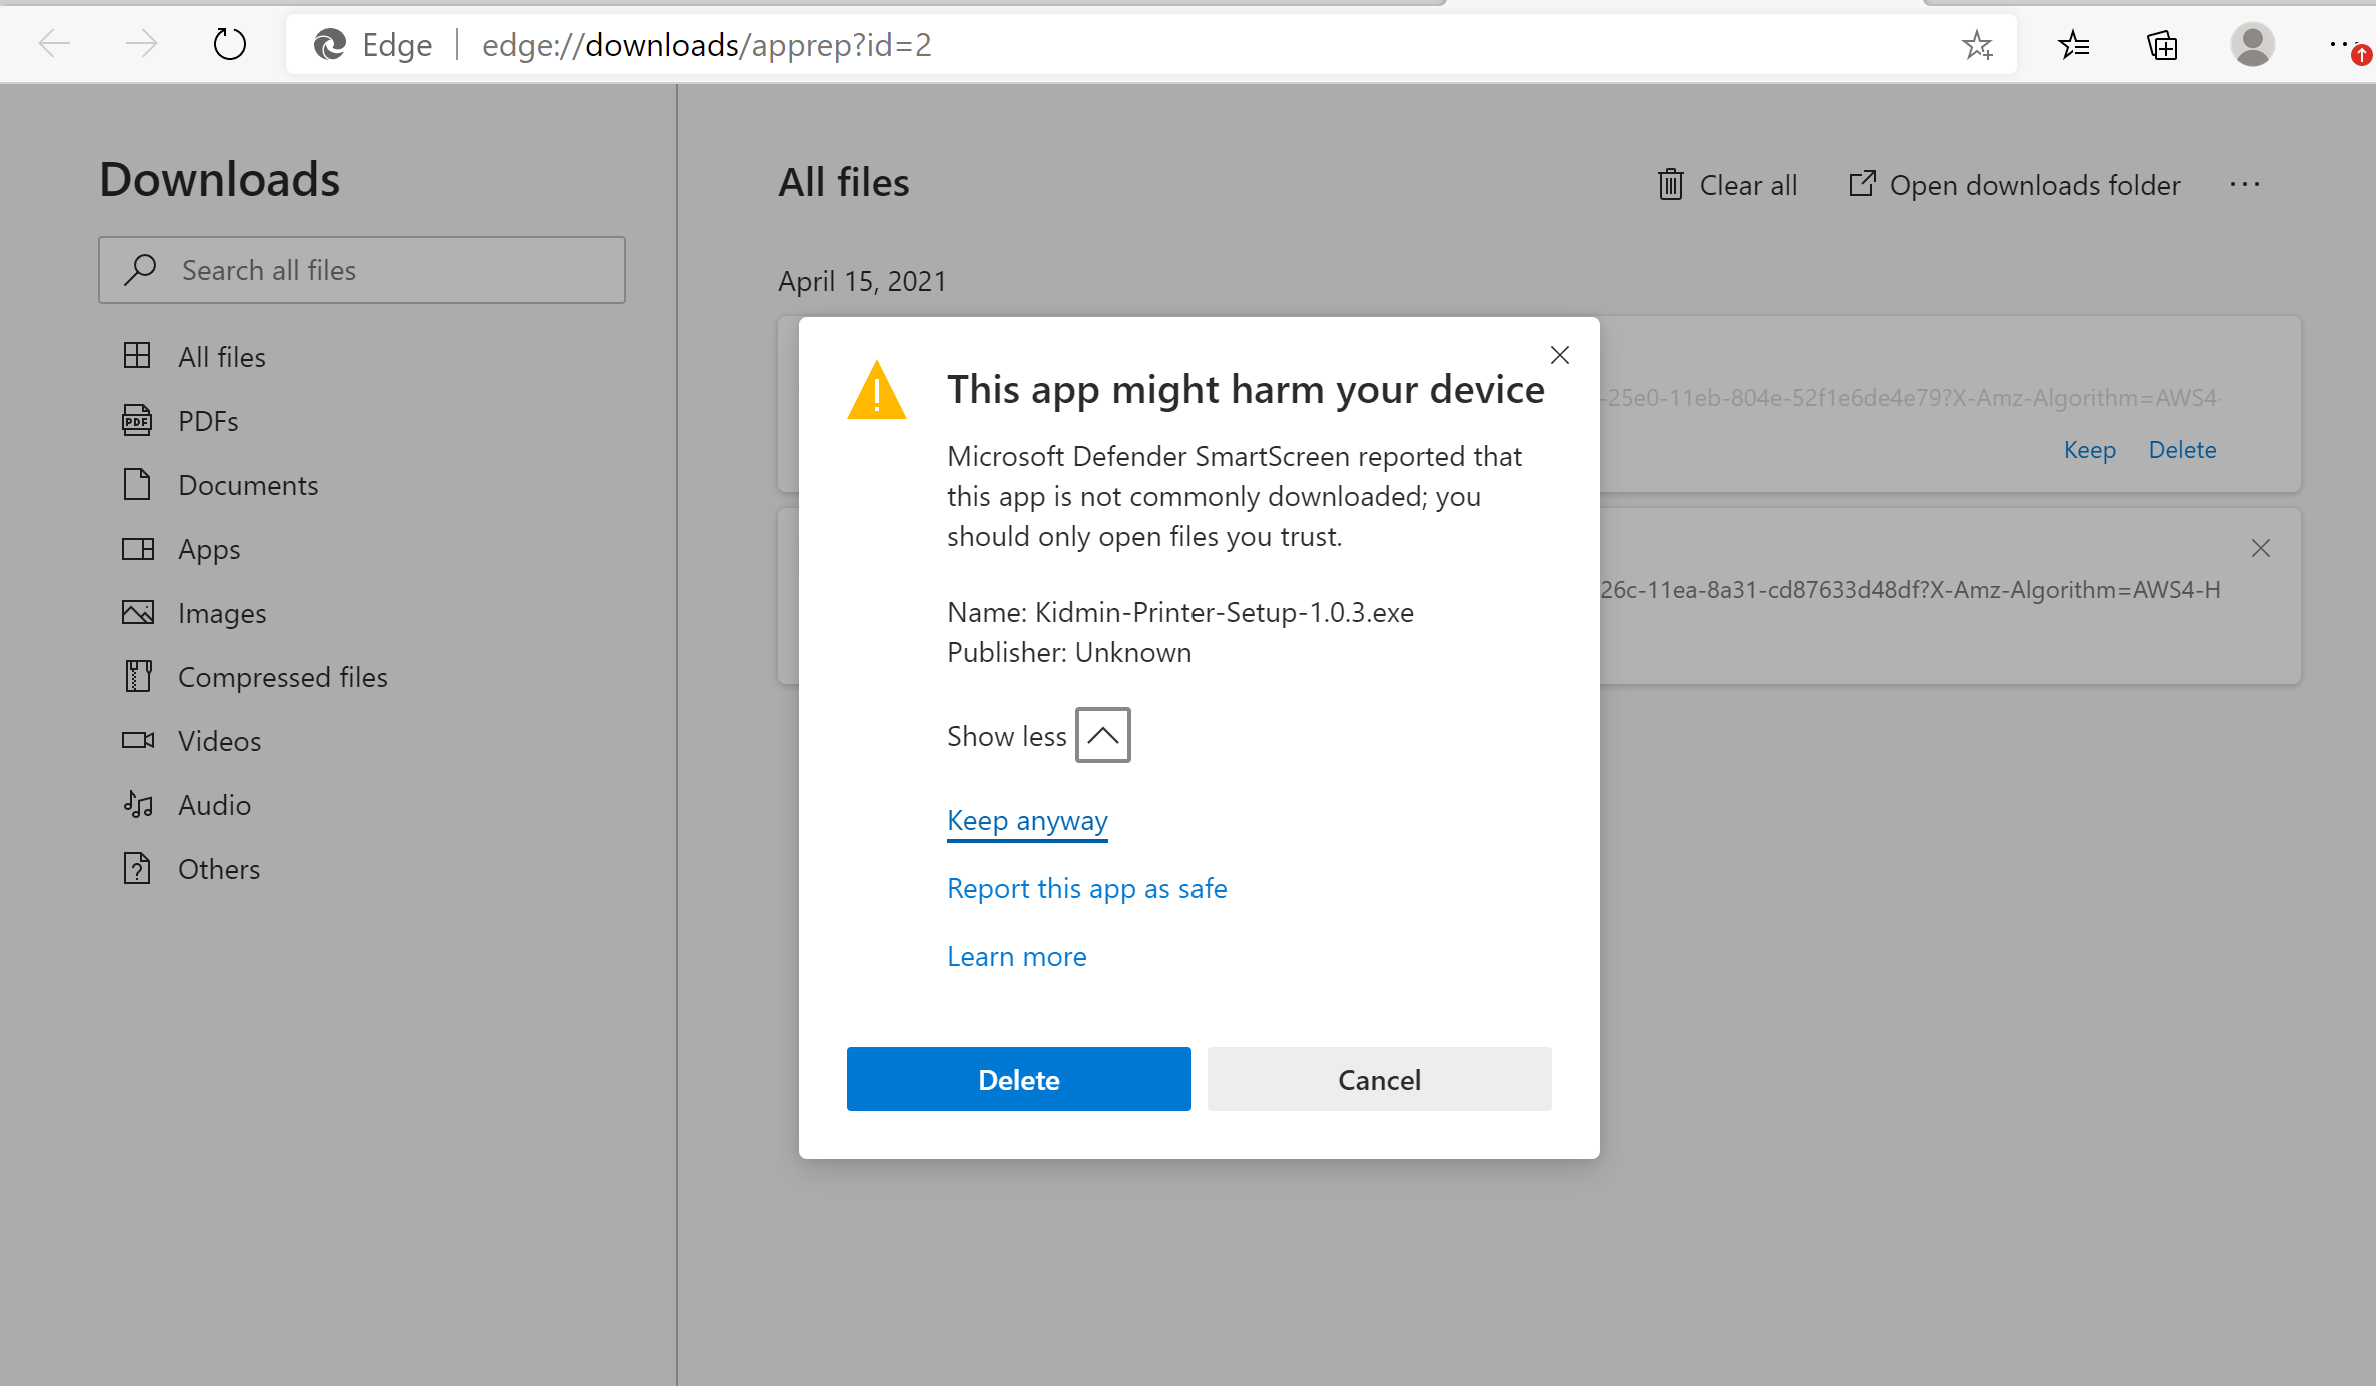
- Click "Show More" and select "Keep Anyway" from Windows permission request.
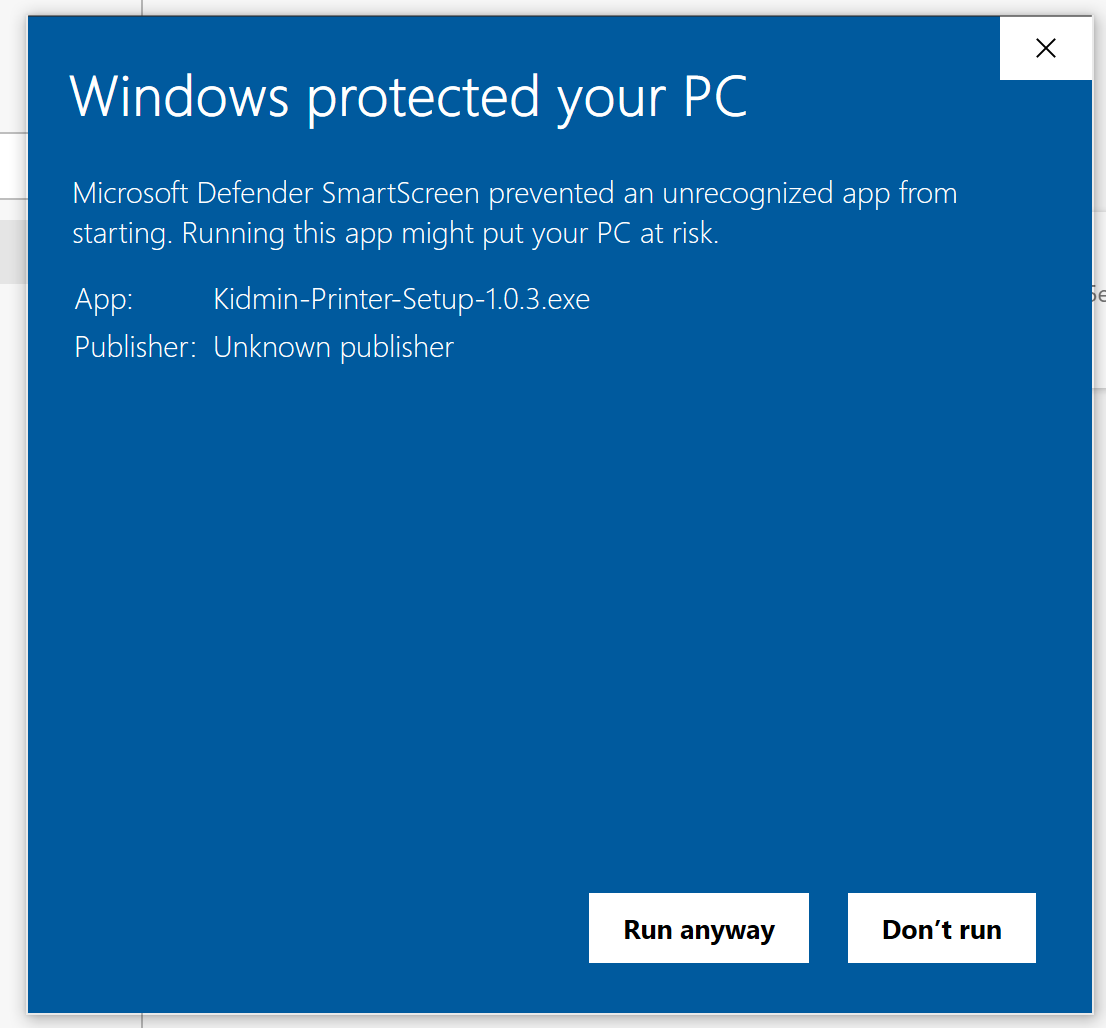
- Double-click file (.exe). Click "More Info" and select "Run Anyway" from Windows permission request.
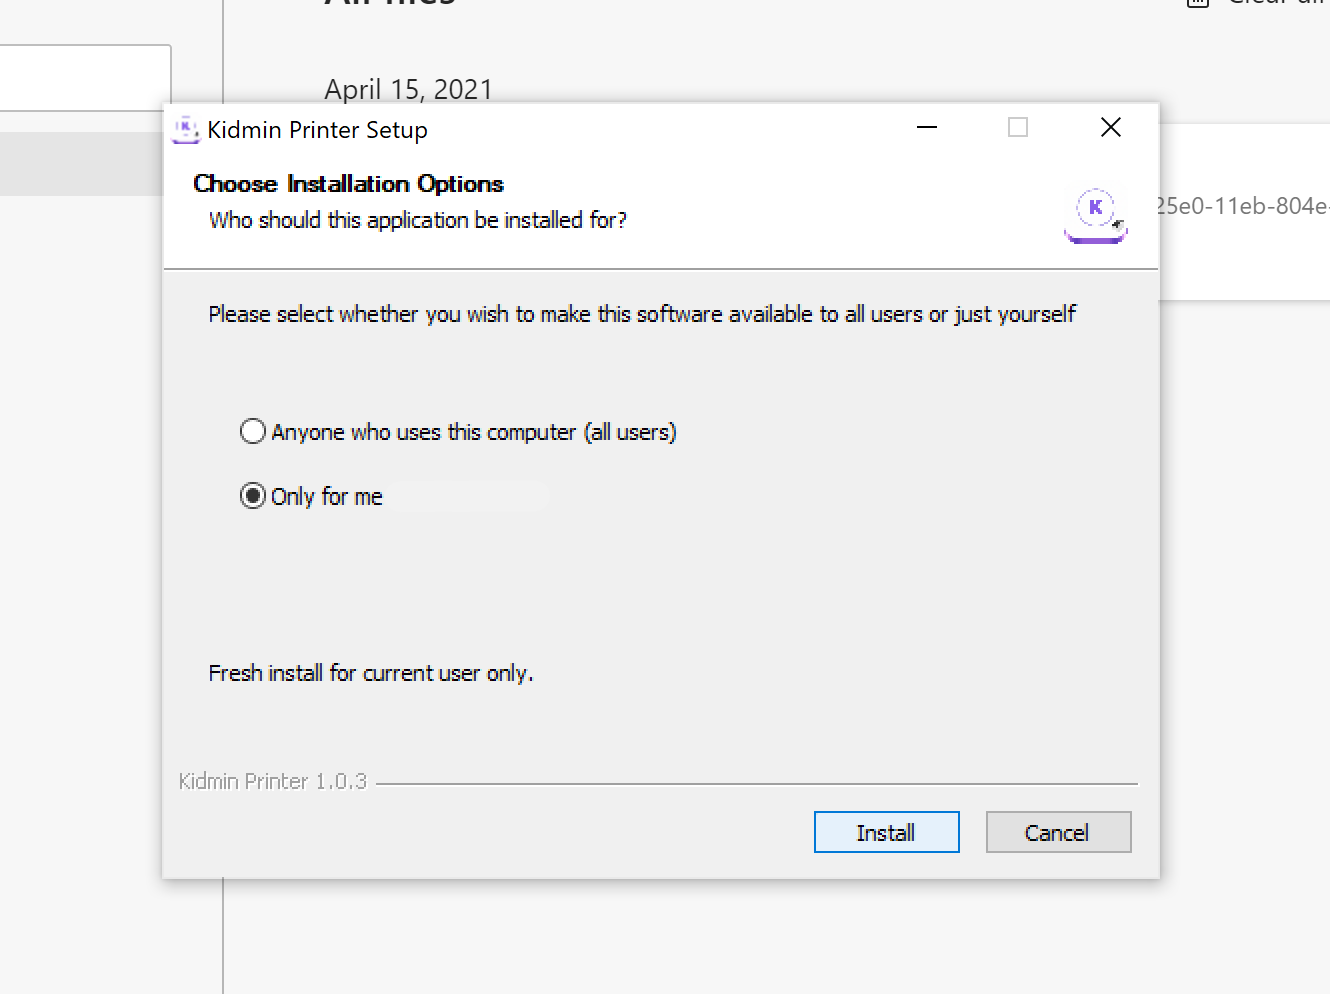
- Select best install option for your ministry (your user account or all on the device). Installer will run. Click "finish" when complete (if "open Kidmin Printer" option is left checked, app will open automatically. For your first use, click logout and this will close the app).
- Make sure the installation is complete before moving to the next section.
Part 3: Connecting the Printer to Your Kidmin App Account
- Make sure your Brother printer is connected to your computer via USB and powered ON. (Make sure only the single green light over power button is lit, and that the editor lite is OFF.)
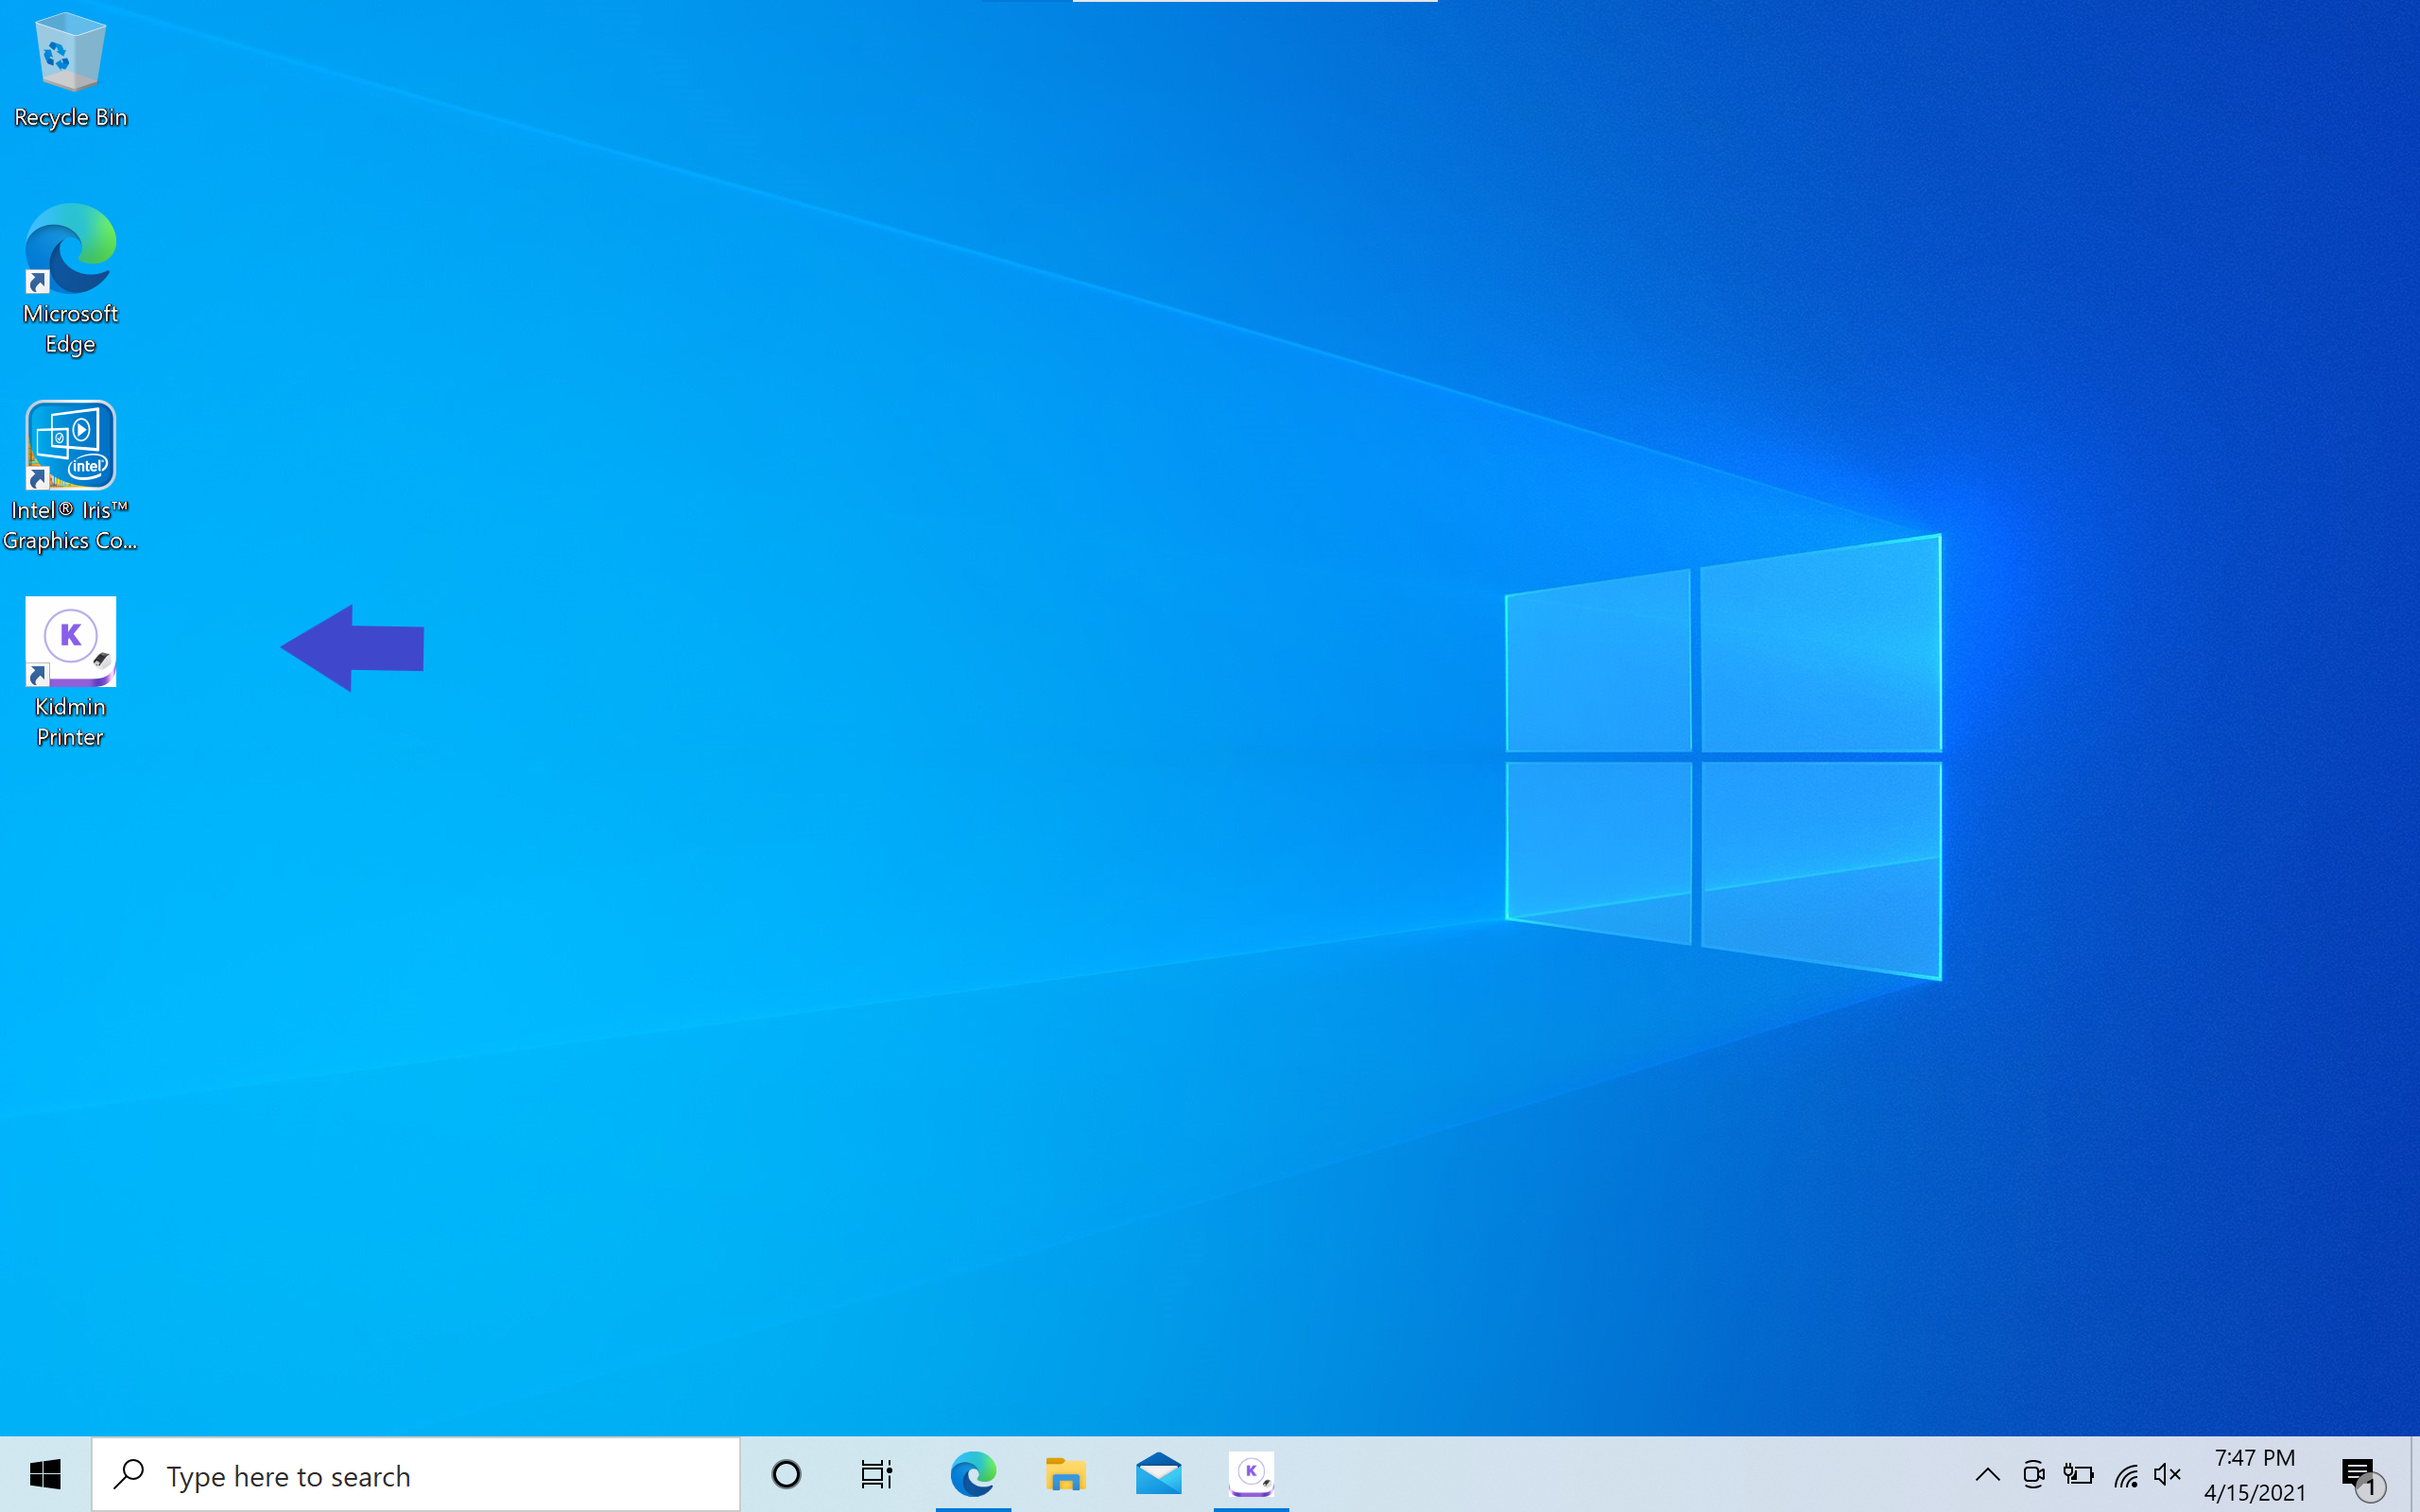
- Double click the Kidmin Printer app icon on Desktop screen to open the printing application.
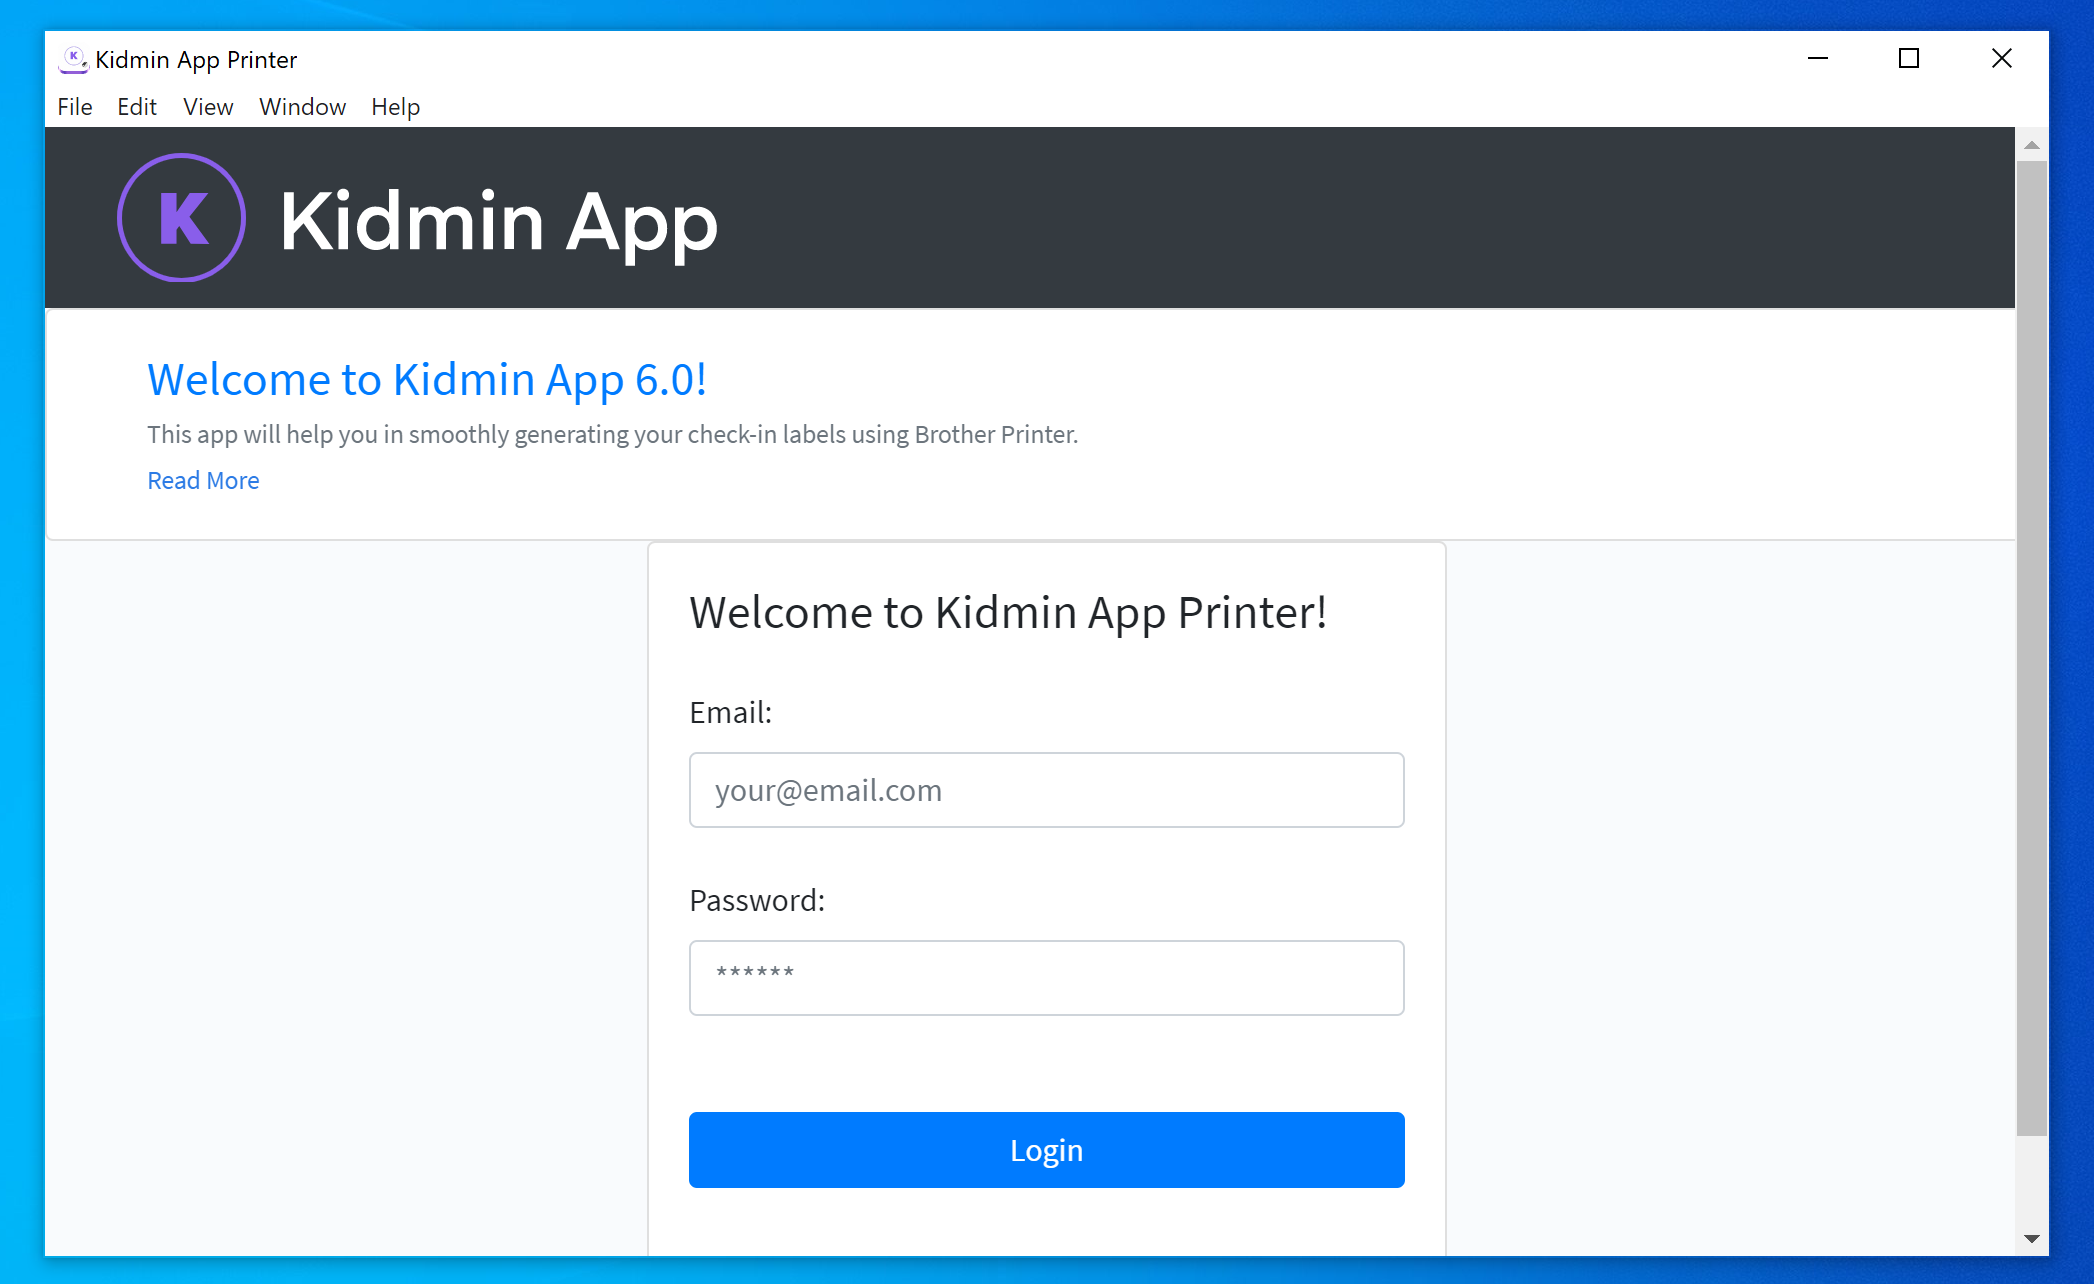
- Log in with your Kidmin App account credentials.
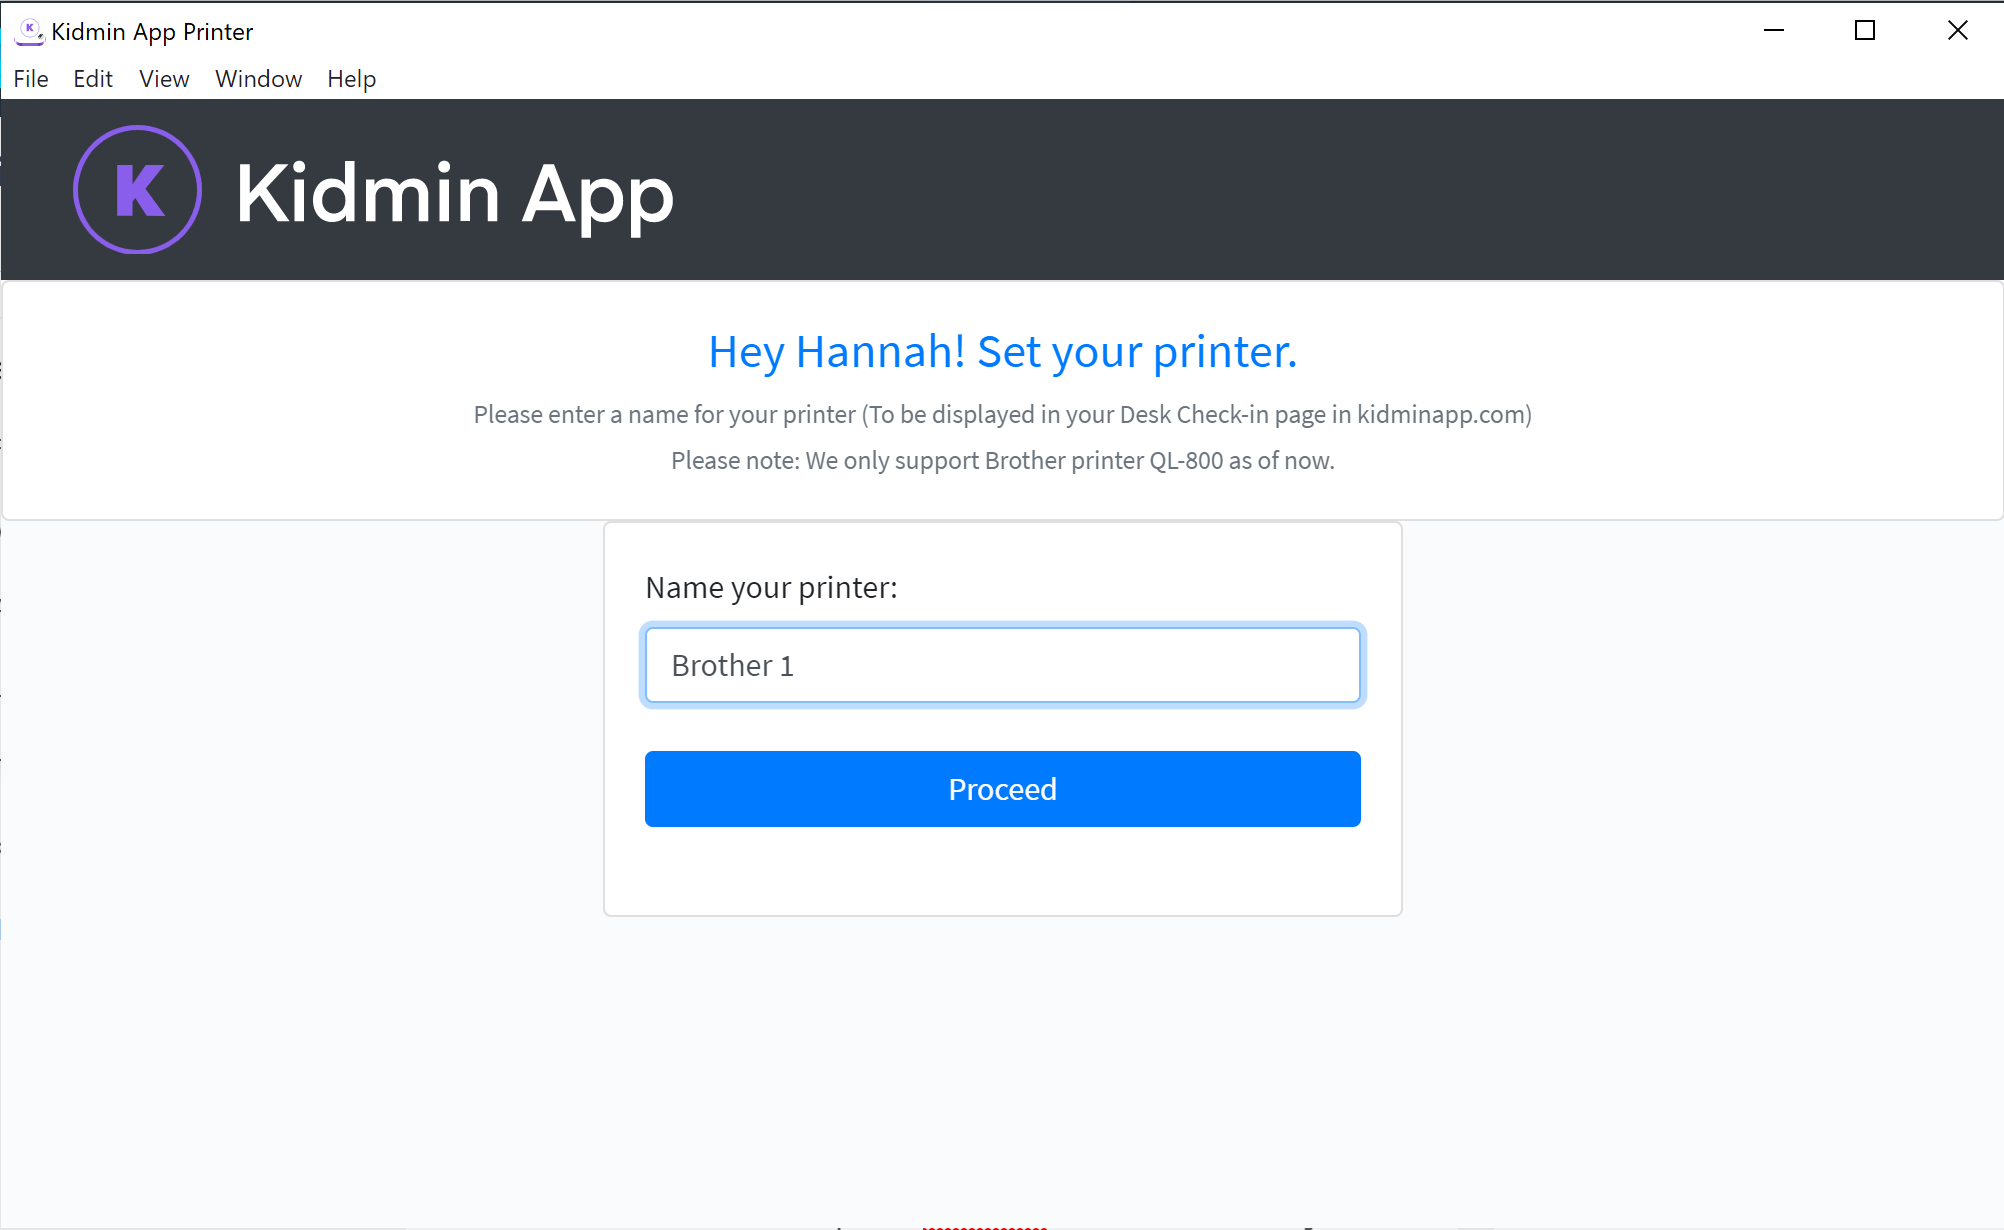
- On the next screen you will enter a unique name for the printer you're setting up (this is helpful when using printers in different locations or if you have one that you dedicate to express checkins, etc).
- In the printer app window, click “Print Sample.” A sample label will print signifying that your printer is set up successfully.
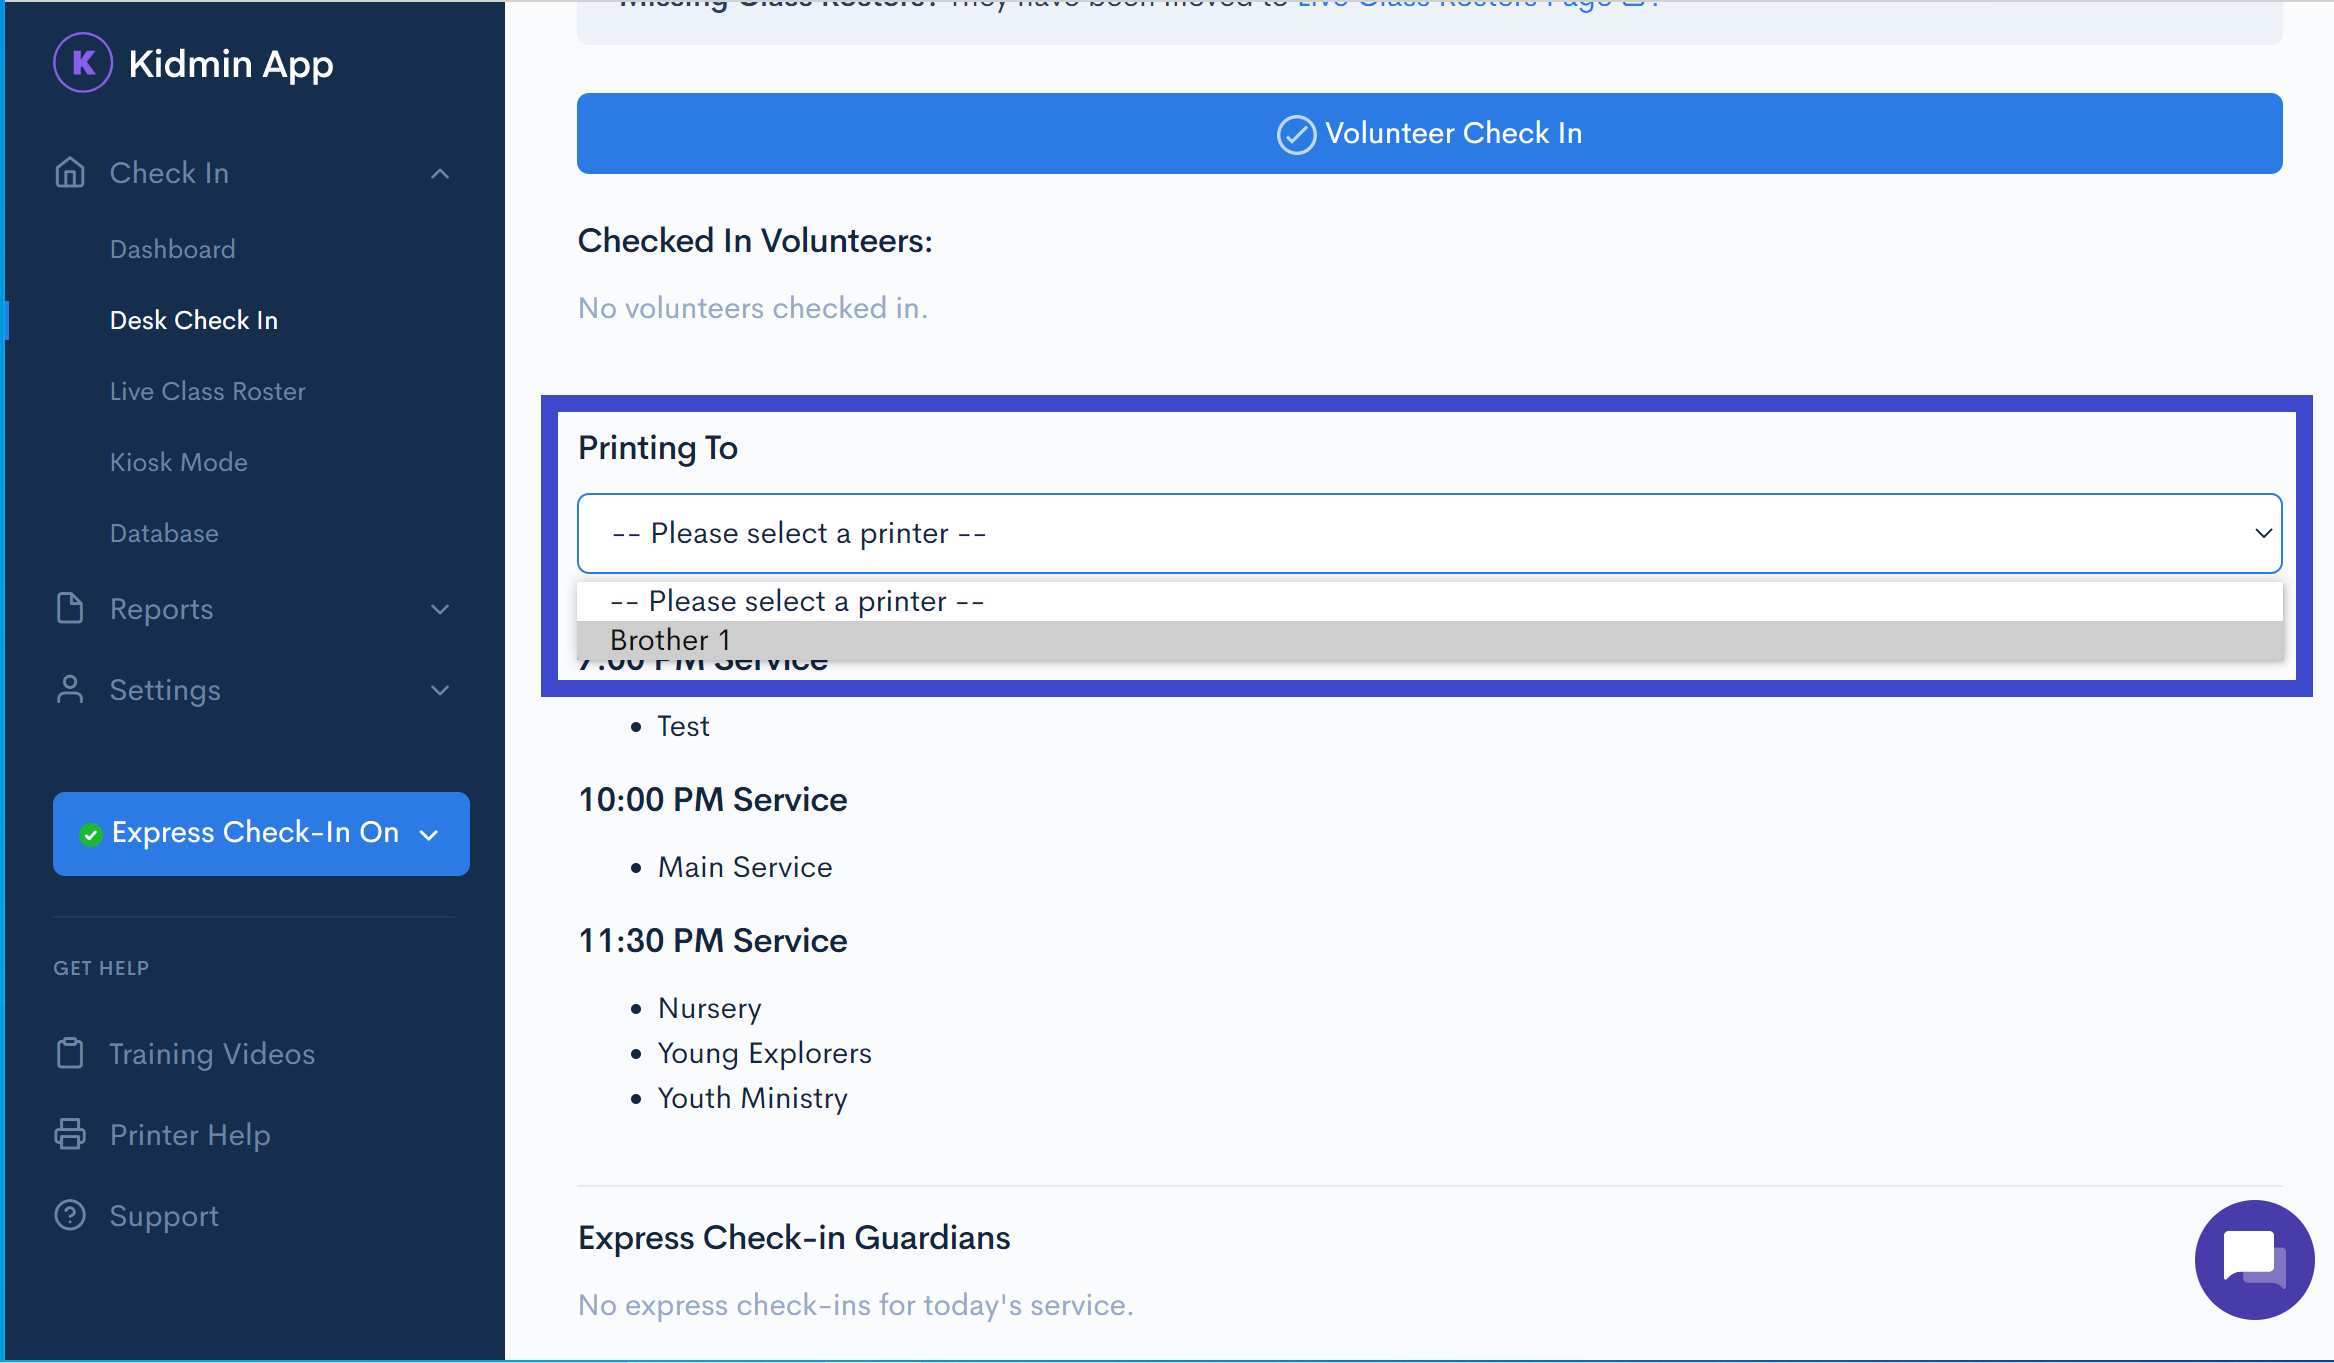
- From your desk check-in page, select the printer you just named from the "Printing To" dropdown menu. Note: If it doesn't appear, you may need to refresh the page.
- To print a test checkin (highly recommended), make sure you have an available service and class available for that day. Check yourself in as a volunteer (this prevents child attendance from becoming inaccurate). A volunteer checkin tag will print.
You're all set! If you run into any problems or have a question, please contact us at help@kidminapp.com. We will be happy to assist!